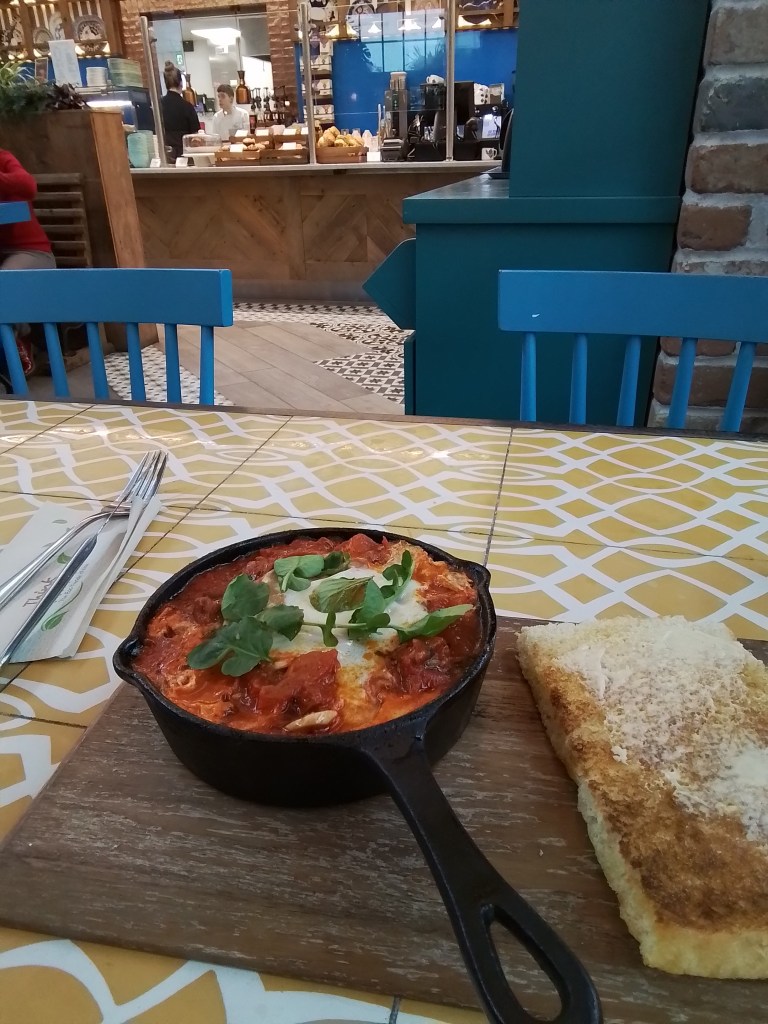
Chicken Parmigiana prepared and cooked by @nevenmaguire @dunnesstores

https://www.instagram.com/reel/C6J7tvkLtD4/?igsh=MWR2cHJyeGlzbW5kMg==

dunnesstores

#ad | Looking for the perfect chicken dinner? Try this Chicken Parmigiana recipe from our @simplybetterds brand ambassador @nevenmaguire find the full recipe below and shop the ingredients in your local @dunnesstores

Ingredients (Serves 4)
2 Simply Better Irish Corn Fed Chicken Fillets
2 Simply Better Irish Free Range Corn Fed Large eggs
2 Tbsp. Simply Better Organic Irish Jersey Milk
150g Simply Better Rustic Ciabatta Breadcrumbs
50g Simply Better Parmigiano Reggiano grated, plus extra to garnish
2 Tbsp. Simply Better Italian Extra Virgin Olive Oil
1 Tub Simply Better Italian Mozzarella, cut into 4 slices
1 Jar Simply Better Italian Tomato & Mascarpone Pasta Sauce
25g Butter
75g Plain Flour
A small handful of fresh basil leaves

To serve:
300g Simply Better Italian Bronze Die Spaghetti, cooked
Mixed Leaf Salad

DIRECTIONS
1. Place the chicken on a chopping board and cut each fillet in half lengthways. Spread them out and cover with parchment paper, then bash with a rolling pin until they are about 1cm thick.

2. Put the flour in a dish and season generously with salt and pepper. Put the eggs in a separate dish with the milk and season, then beat lightly with a fork. Put the breadcrumbs and Parmesan into a third dish, stirring to combine. Dust each chicken escalope in the seasoned flour, then dip into the beaten eggs and finally coat it in the breadcrumbs. Arrange on a plate.

3. Preheat the oven to 180°C (350°F/gas mark 4).

4. Heat the oil and butter in a large non-stick frying pan over a medium heat. Cook the escalope’s for 2 minutes on each side, until crisp and golden. Pour half of the tomato sauce on a baking tray or into a baking dish, then add the chicken. Spoon a little of the sauce on each one and top with a piece of mozzarella and a spoon of pesto. Transfer to the oven and cook for 10-12 minutes, until the mozzarella is bubbling.

5. Garnish the chicken with some fresh basil and serve straight to the table with a bowl of spaghetti and a bowl of salad so everyone can help themselves.

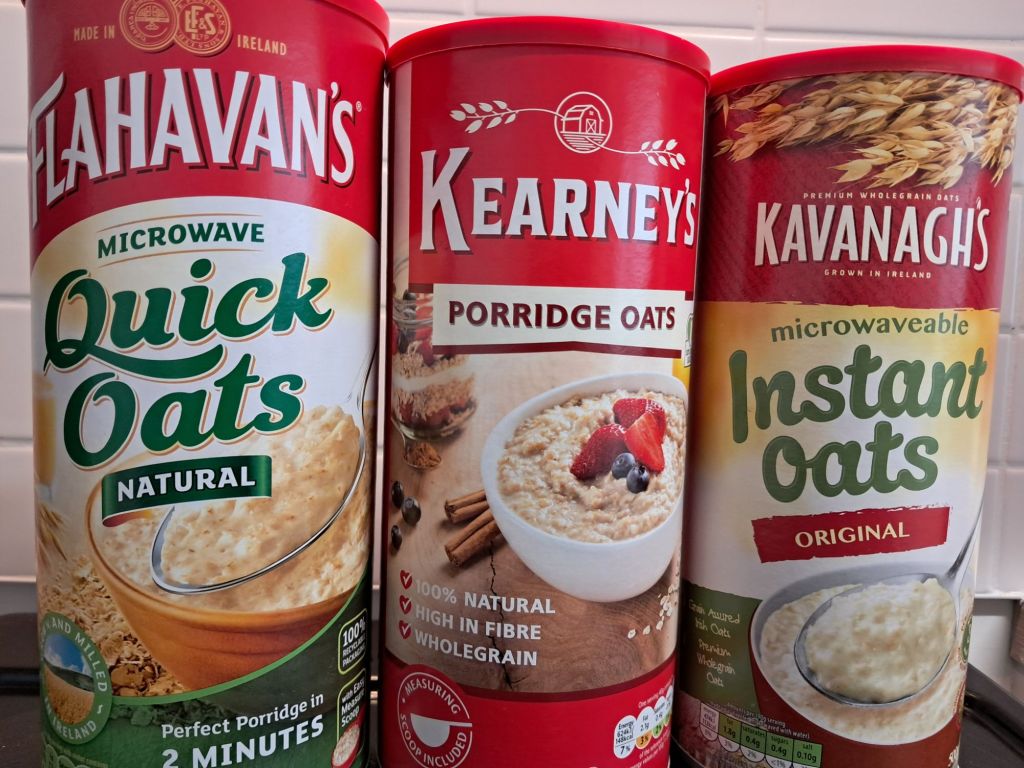
Apricot Pistachio Overnight Oats @flahavans

https://www.instagram.com/reel/C4Fkki3sxcP/?igsh=MWdtOWFjMzEwNTVi

flahavans

Follow

wuki•Mr Sandman [Wukileak]

Liked by thesassy_scientist and others

  • flahavans's profile pictureflahavans
  • Sweeten up your Monday morning with our easy to prep Apricot Pistachio Overnight Oats 😋! Packed with lots of fruit, nut and oaty goodness, these Overnight Oats are just so tasty! Simply prep in advance and chill overnight in the fridge (or chill for a minimum of 2 hours in the morning) and then you’re ready to tuck in and enjoy!
    #flahavansoats #oatspiration #overnightoats

    Serves 2|Takes 120 minutes

    INGREDIENTS:
    90g Flahavan’s Progress Oatlets
    3 tbsp Desiccated Coconut
    200ml Coconut Milk
    260ml Water
    1 tbsp Chia Seeds
    400g Fresh Apricots, halved and stone removed
    2 tbsp Golden Caster Sugar
    40g Pistachios

    METHOD:
    To make the bircher, place the Flahavan’s Oats into a bowl along with the desiccated coconut, coconut milk, 200ml water and chia seeds and stir to combine. Leave in the fridge for min. 2 hours or overnight if you can.
    Meanwhile, place the apricots, remaining water and golden caster sugar in a medium saucepan. Cook gently over a low-medium heat for 10-15 minutes, or until soft and broken down. Remove from the heat and leave aside to cool.
    Crush the pistachios into a fine crumb using a pestle and mortar.
    To assemble, spoon the bircher into two glasses adding in a layer of the apricots and sprinkle over the pistachio crumb to serve.1d

Camilla Japonica also known as the winter rose @rachelallencooks #ballymaloe

https://www.instagram.com/reel/DHaYQJ7skRR/?igsh=ZWozdXRxd3A3M2N6

rachelallencooks

and

ballymaloecookeryschool

Original audio

Liked by squirrel8293 and others

  • rachelallencooks
  • Camellia japonica 🌸 Also known as the winter rose, this evergreen shrub flowers in late winter and early spring, adding colour when little else is in bloom.

    Freshly picked for a natural, seasonal touch on cakes and desserts.

Chocolate Iced Mille-Feuilles from Neven Maguires Irish Food Trails

 This dessert looks so impressive that it’s hard to believe that you’ve actually made it yourself with such little effort. It can be made up to 1 month in advance, leaving nothing for you to do on the day.

Serves 4

Ingredients

  • 1 x 100g (4oz) bar of plain chocolate (70% cocoa solids), broken into pieces
  • 150g (5oz) white chocolate, broken into pieces
  • 225ml (8fl oz) cream
  • 1 vanilla pod, split in half lengthways and seeds scraped out
  • 1 large egg white
  • 2 tsp icing sugar
  • good-quality cocoa powder, to dust
  • fresh raspberries, to serve

To Cook

Use a little water to dampen a 450g (1lb) loaf tin (the more square shaped, the better), then line with a double layer of cling film. Line 2 large baking sheets with non-stick baking paper.

Melt the plain chocolate in a heatproof bowl set over a pan of simmering water. Spoon half the melted chocolate onto each sheet of baking paper and spread it out to the edges in a thin layer. Put in the fridge for about 30 minutes to set.

Melt the white chocolate and 5 tablespoons of the cream in a separate heatproof bowl set over a pan of simmering water. Once melted, give it a good stir and set aside to cool.

Whip the rest of the cream in a large bowl with the vanilla seeds until the cream is just holding its shape, then fold in the cooled melted white chocolate.

In a separate bowl, whisk the egg white and icing sugar until stiff peaks have formed, then fold into the white chocolate mixture.

Carefully peel the plain chocolate from the baking paper and break it up into pieces.

Place a couple spoonfuls of the whipped cream mixture into the prepared loaf tin and cover with a layer of the plain chocolate pieces. Repeat the layers until the loaf tin is filled up, finishing with a layer of whipped cream. Cover the top with cling film and freeze overnight (or up to 1 month). Any remaining pieces of plain chocolate can be put into a freezer-proof container and frozen separately to use for decoration.

About 1 hour before serving, transfer the loaf tin and reserved chocolate decoration to the fridge.

Serving Suggestions

To serve, carefully turn out onto a serving plate and peel away the cling film. Break up the reserved plain chocolate into small jagged pieces and use to decorate the top. Add a light dusting of cocoa powder and put straight on the table. Cut into slices and arrange on plates with some raspberries