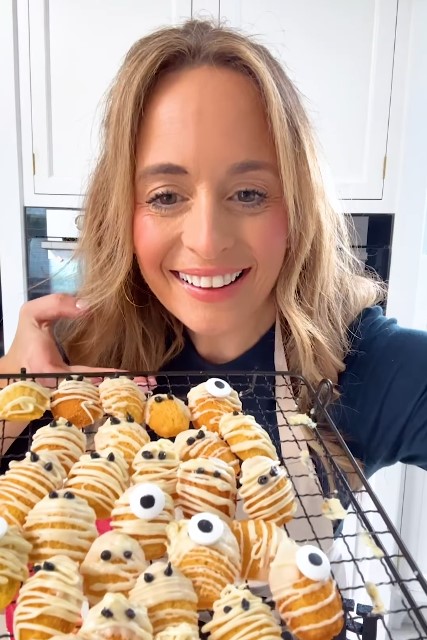
These buttery Mummy Madeleines by Aisling Larkin @odlums_ireland 🎃 😋 😍
https://www.instagram.com/reel/DQHUwy1CqAP/?igsh=dmh2MXFzaHM5a2dq


and
- It’s spooky season! These buttery Mummy Madeleines by Aisling are the perfect Halloween treat, golden, chocolate-dipped, and just a little bit spooky 👻
Bake them with the family or surprise your trick-or-treaters!
Link to recipe: https://odlums.ie/recipes/halloween-mummy-madeleines/
#baking #halloween1d - They are so cute & homemade & fun ! I love a little vanilla Madeira anything 😂😂
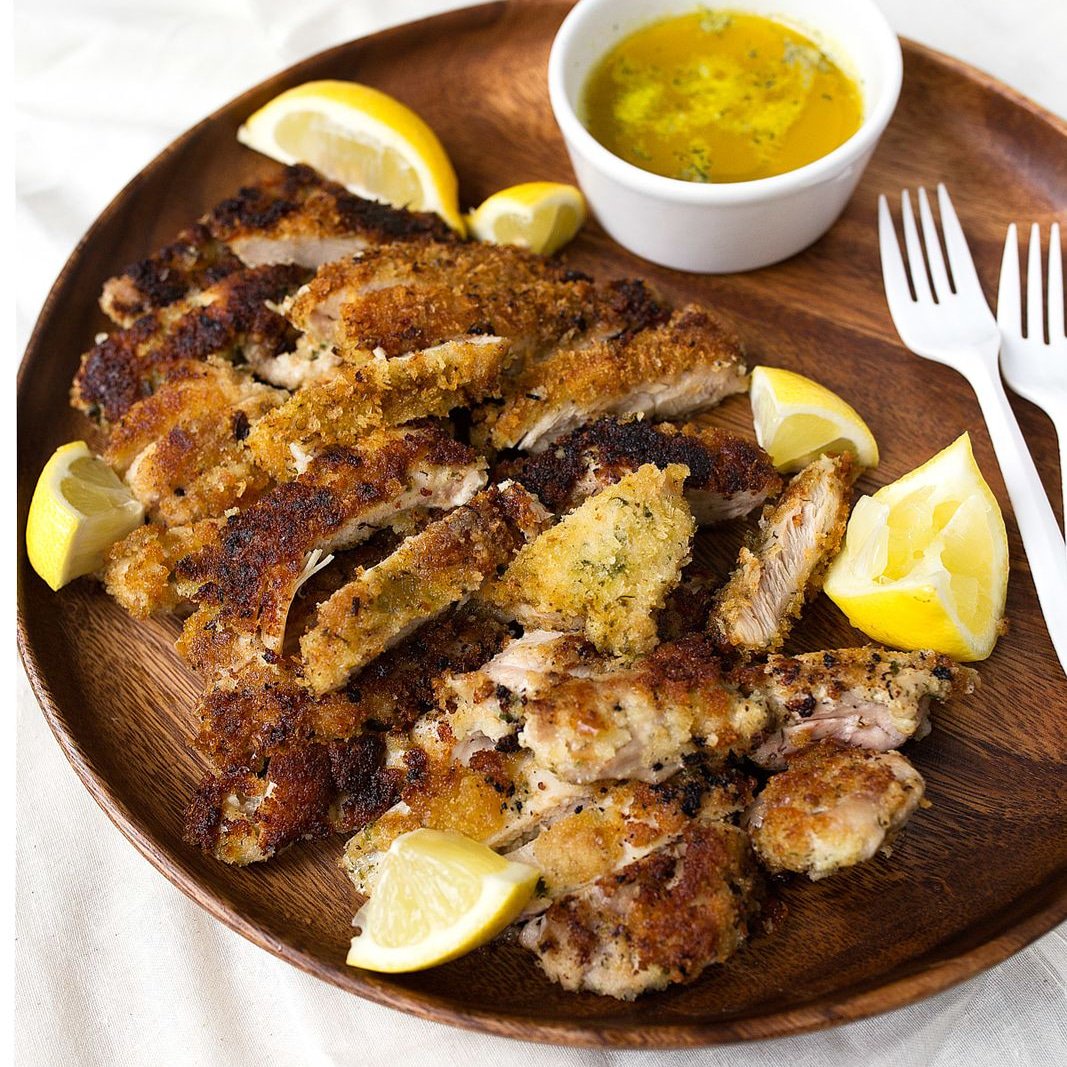
Garlic Butter Fried Chicken @kerrygoldIRL
Kerrygold Ireland @KerrygoldIRL 8 hours ago
Warning, once you try this butter fried chicken recipe you may want to eat your chicken like this forever! Crisp, golden and hot. It’s a must try https://kerrygold.com/ie/recipes/garlic-butter-fried-chicken/ …
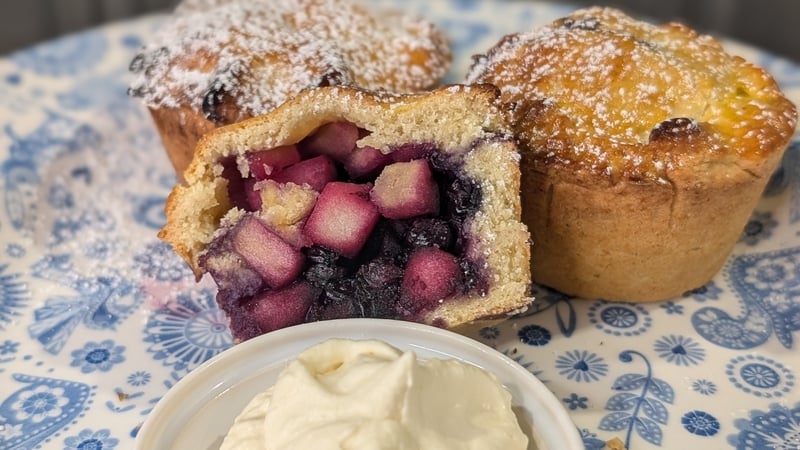
Mags’ apple and blackberry pie: Today @RTEfood
Ingredients
- 6 pink lady apple
- 500g frozen blackberries
- 100g caster sugar
- Juice and zest one lemon
Pastry
- 400g plain flour
- 250g butter
- 200g icing sugar
- Teaspoon salt
- 3 egg yolk
- Water splash
Method
- Cook apple until soft in a pan, add blackberries when apples are nearly cooked.
- Mix together. Add juice and zest lemon. Let cool.
Pastry
- Rub together the flour and butter until crumble like.
- Mix in icing sugar, salt, and egg.
- Don’t over mix, rest in the fridge for 1 hour.
- Oil or butter your dish
- Line a tray. Or muffin tray with pastry
- Fill with apple and blackberry mix.
- Top the pie with more pastry
- Egg wash the top of the pastry, and cook in the oven 180degrees for 28 mins, until pastry is golden.
- Let cool and serve with fresh cream Or custard.
New Circle of Friends Child Care at the Community Hall . 🥰 #killeshandra

Killeshandra Co.Cavan
Odlums Fruity French Toast & Rowse Honey
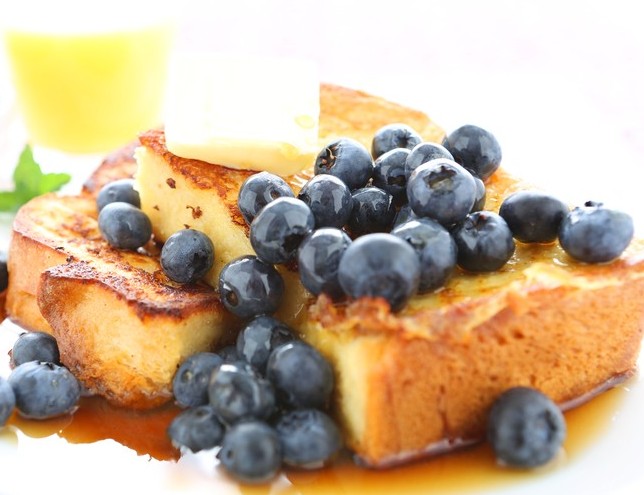
Ingredients
4 Slices of Bread
2 Eggs (beaten)
4 Tablespoons Milk
1 Tablespoon Caster Sugar
Butter for frying
Topping
Rowse Honey
Punnet of Blueberries & Raspberries
50g/2oz Shamrock Walnuts (roughly chopped)
Method
- Beat the eggs, milk and sugar well in a bowl, then transfer to a large shallow dish (so you can easily dip in a slice of bread)
- Dip each side of bread in the batter and allow to soak for a few seconds.
- Heat a knob of butter in a pan over a medium heat. Fry both sides of the bread until golden brown.
- Put 2 slices of hot toast on a plate, cover with sliced banana, drizzle with maple syrup or honey and sprinkle with the walnuts.
- If serving a large number keep the toast warm in a preheated oven 130°C/250°F/Gas ½!
Note
The toast can be used for both sweet and savoury recipes! If savoury, omit the sugar and add a pinch of salt and pepper.
This is a great way to use up stale bread!!
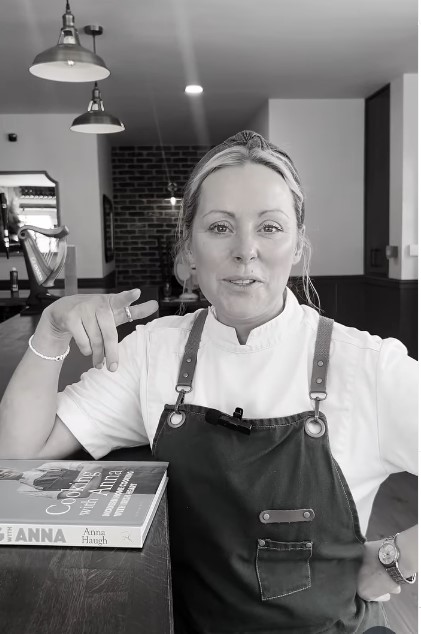
Anna Haugh “My mother taught me how to cook” @haughser with thanks to Liz Dunne
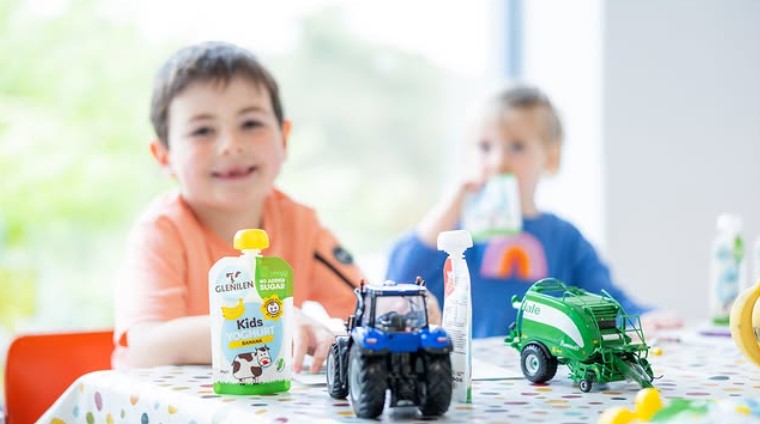
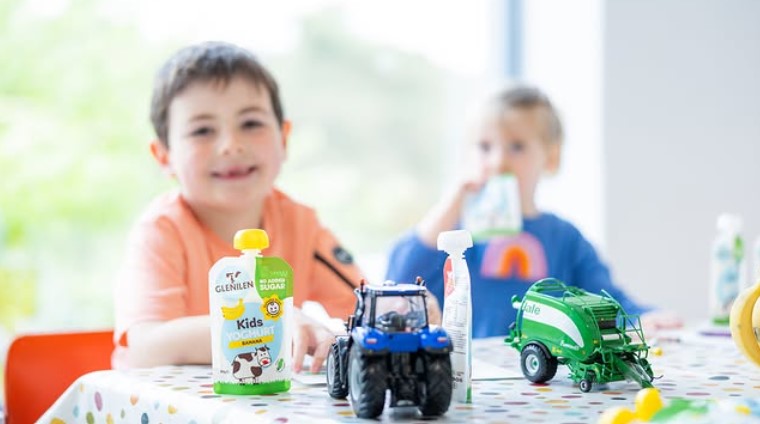
Kids are Tough! @glenilenfarm🥰🤣
•
Follow
 glenilenfarm
- Snack time just got fun!
Check out our wide range of Glenilen Farm kids yoghurt pouches available in stores nationwide ✨
#GlenilenFarm #MadeRightHereInWestCork #KidsSnacks #YoghurtHappiness #SnackTime #Playtime2w
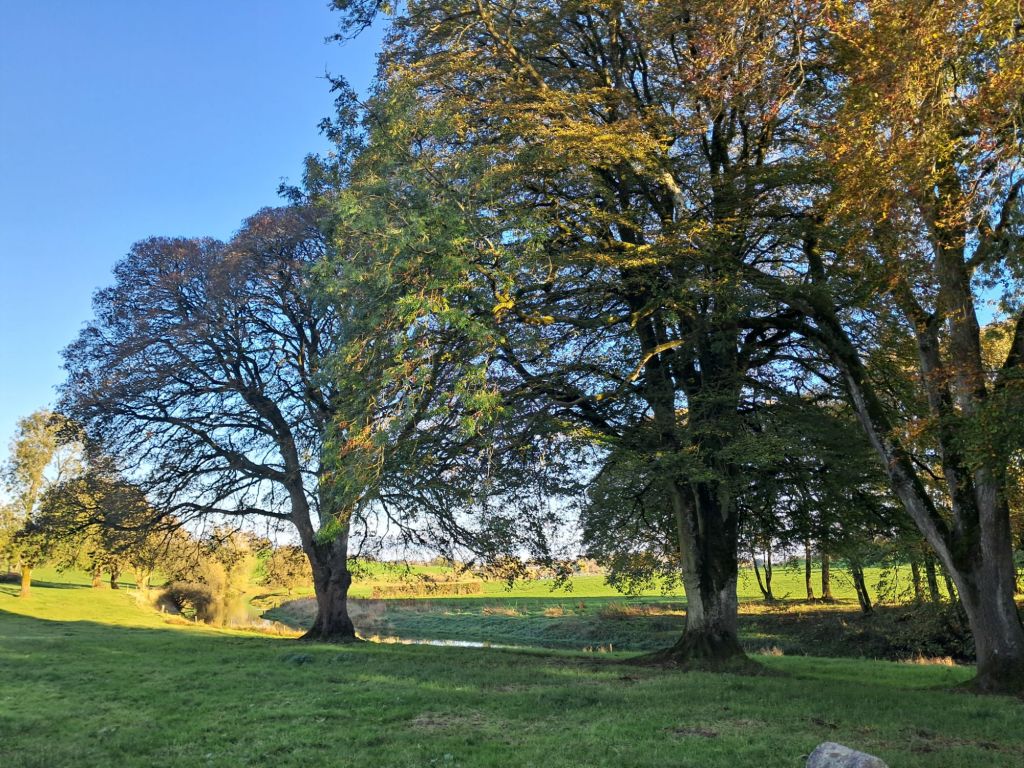
Nature has created a wonderful landscape. And the people are here to bring it to life 🙌 🙂
Sligo calf minding her mum 💚 by Órla Ryan #wet&windy 🇮🇪
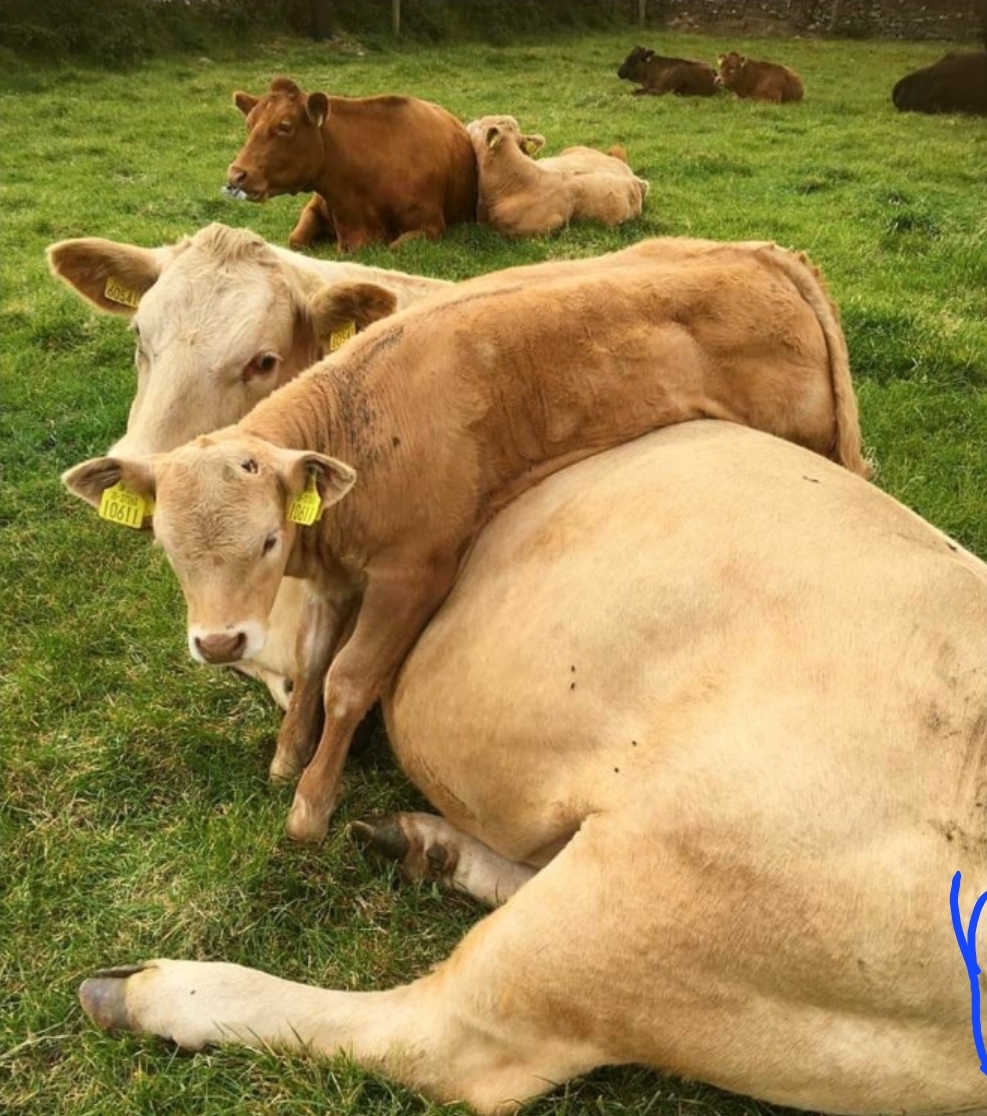


Órla Ryan
@orlaryan
One of my favourite updates from Sligo is getting photos of the calf whose preferred seating position is this.

