Makes 2x 1.2 litre (2 pint) puddings
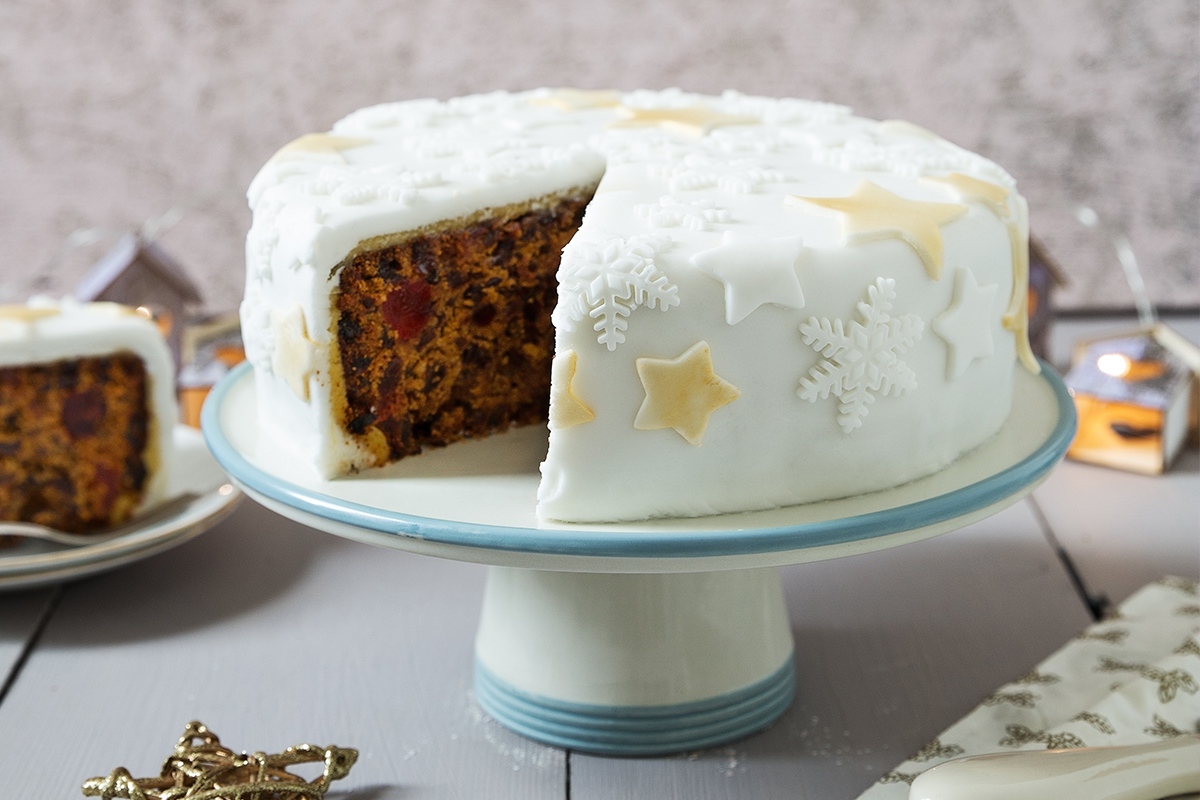
Nothing beats the flavour of homemade Christmas pudding, but it’s important to get good-quality fruit and it’s best made at least 1 month in advance.
I love plum pudding, hot or cold, with lashings of cream, but the spiked almond custard is even more special. I always look forward to it. A big thank you to Auntie Maureen for this recipe.
Ingredients
- 50g (2oz) plain flour
- 1/2 tsp ground mixed spice
- 1/2 tsp ground cloves
- 1/4 tsp ground nutmeg
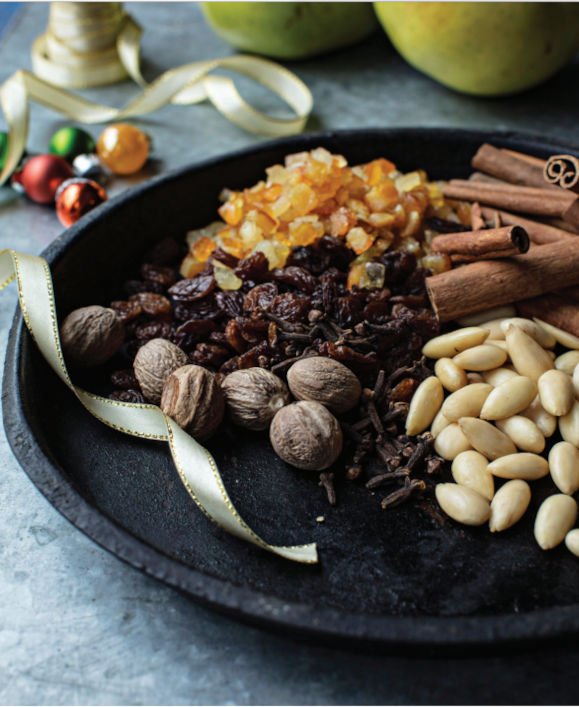
- 225g (8oz) sultanas
- 175g (6oz) butter, melted, plus extra for greasing
- 175g (6oz) fresh white breadcrumbs
- 175g (6oz) light brown sugar
- 175g (6oz) raisins
- 50g (2oz) currants
- 50g (2oz) candied mixed peel
- 50g (2oz) blanched almonds, hopped
- 1/2 eating apple, peeled, cored and diced
- 1/2 small carrot, grated finely grated rind and juice of
- 1 lemon
- 2 eggs, lightly beaten
- 300ml (1/2 pint) stout
- fresh redcurrant sprigs, to decorate (optional)
- icing sugar, to decorate (optional)
- spiked almond custard, to serve
Method
- Sift together the flour, mixed spice, cloves and nutmeg. Add the sultanas, melted butter, breadcrumbs, sugar, raisins, currants, mixed peel, almonds, apple, carrot and the lemon rind and juice and mix until well combined. Gradually add the beaten eggs, stirring constantly, followed by the stout. Mix everything together thoroughly and cover with a clean tea towel, then leave in a cool place overnight.
- Use the fruit mixture to fill 2 x 1.2 litre (2 pint) greased pudding bowls. Cover with a double thickness of greaseproof paper and tin foil, then tie tightly under the rim with string. Store in a cool, dry place overnight.
- To cook, preheat the oven to 150°C (300°F/gas mark 2).
- Stand each pudding basin in a large cake tin three-quarters full of boiling water, then cook in the oven for 6–8 hours (or you can steam them for 6 hours in the usual way). Cool and re-cover with clean greaseproof paper. Again, store in a cool, dry place.
- On Christmas Day, re-cover with greaseproof paper and foil. Steam for 2–3 hours, until completely cooked through and tender. Decorate with the redcurrant sprigs and a light dusting of icing sugar, if liked.
- To serve, cut the plum pudding into slices and arrange on serving plates. Have a separate jug of the spiked almond custard so that everyone can help themselves.