This cake can be served warm as a dessert or cold as a teatime treat. It’s delicious with custard, but it would also be good with crème fraîche, clotted cream, vanilla ice cream or whipped cream – the list is endless! If you don’t fancy the apple, try using rhubarb or blackberries, depending on the time of year.
Serves:4
Ingredients:
For the streusel:
4 tbsp plain flour
1oz (2 tbsp) Kerrygold butter, diced, extra to grease
2 tbsp light brown sugar
3 tbsp toasted skinned hazelnuts, finely chopped
For the cake:
5oz (10 tbsp) Kerrygold butter, at room temperature
Preheat the oven to 350°F. Butter a 23cm (9in) loose-bottomed cake tin and then line with a circle of buttered parchment paper. To make the streusel, place the flour in a small bowl and rub in the butter, then stir in the brown sugar and hazelnuts.
To make the cake, beat the butter and caster sugar together with a hand held electric mixer in a bowl until light and fluffy. Beat in the eggs, a little at a time, adding one tablespoon of the flour when you have added about half of the beaten eggs. This will stop it from curdling. Sift over the rest of the flour and the baking powder and cinnamon, then mix lightly. Add the apple, hazelnuts and milk and fold in until thoroughly combined.
Spoon the cake mixture into the prepared cake tin and spread level. Scatter the streusel in an even layer on top of the cake mixture and bake for 50 minutes to 1 hour until the sides of the cake have shrunk slightly away from the tin and the streusel topping is golden brown. To test if the cake is done, insert a fine metal skewer into the middle. If it comes out clean, the cake is ready. Remove the cake from the oven and leave to cool in the tin for 15 minutes set on a wire rack.
To serve, cut the apple and hazelnut streusel cake into slices and arrange on plates with the warm custard.
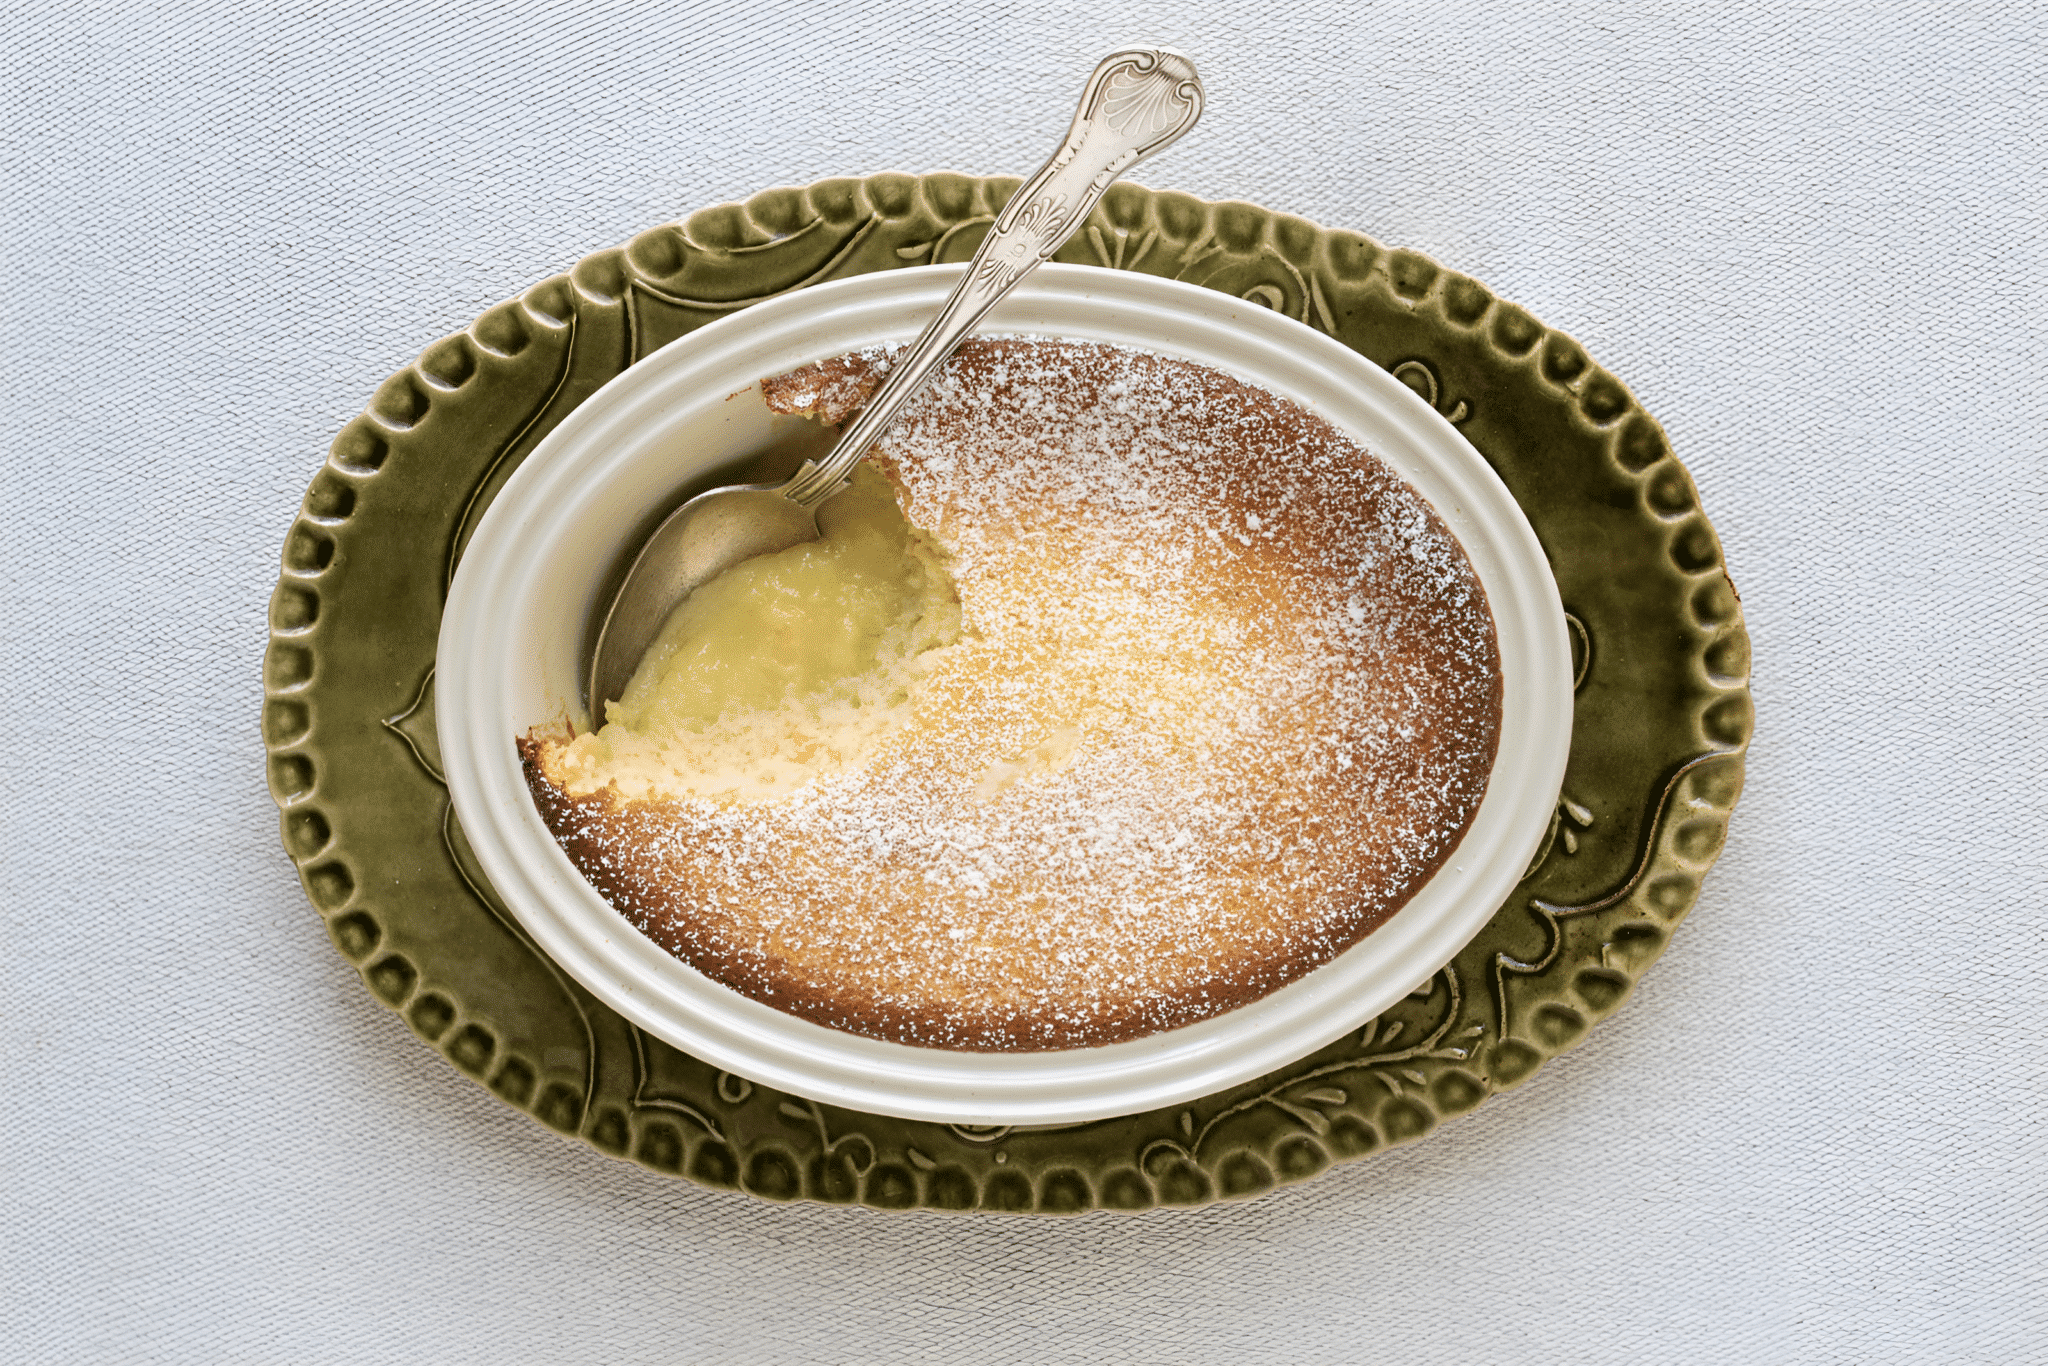
Myrtle Allen had been making this old-fashioned pudding long before she opened the restaurant at Ballymaloe. The recipe first came into her family in the 1930s. It is a really lovely dish and I like to serve it as a lunchtime dessert throughout the year. As the pudding bakes, it separates into two layers: the top is a light lemon sponge, and the bottom is a creamy lemon sauce. I like to serve every spoonful of the pudding with a generous amount of softly whipped cream.
Serves 4
Ingredients
15 g/½ oz (generous 1 tablespoon) soft salted butter
225 g/8 oz (1 cup plus 2 tablespoons) caster (superfine) sugar
3 large eggs
30 g/1 oz (¼ cup) plain flour grated zest and juice of 2 lemons
250 ml/8 fl oz (1 cup) milk
icing (confectioners) sugar, for sprinkling
softly whipped cream, to serve.
Method
Preheat the oven to 180°C/350°F/Gas Mark 4. Have a 1.2 litre/2 pint (5 cups) pie dish to hand.
Place the butter in a mixing bowl, cream it with a wooden spoon and gradually add the sugar. It will seem odd trying to cream so much sugar into so little butter and the mixture will have a similar texture to damp sand. Separate the eggs place the whites in a spotlessly clean bowl and set to one side. Mix the egg yolks into the butter and sugar mixture followed by the flour. Blend in the lemon zest and juice followed by the milk.
Whisk the egg whites to stiff peaks and gently fold them into the wet mixture. Pour into the pie dish and bake for about 40 minutes, or until set. The top of the pudding should be golden. Sprinkle with icing sugar and serve hot from the oven with softly whipped cream.
This recipe is from ‘Ballymaloe Desserts’ a cookbook by JR Ryall, Head Pastry Chef at Ballymaloe House HotelSearch for:
½ vanilla pod, split in half and seeds scraped out
300ml milk
100ml cream
To Cook
To make the pastry: Sift the flour and icing sugar into a bowl. Using a round-bladed knife or the tips of your fingers, work in the butter and then mix in the egg yolks. Add the ice-cold water until the dough just comes together. Wrap in cling film and chill for at least 30 minutes.
Preheat the oven to 190°C (375°F/gas mark 5). Lightly dust the work surface with flour.
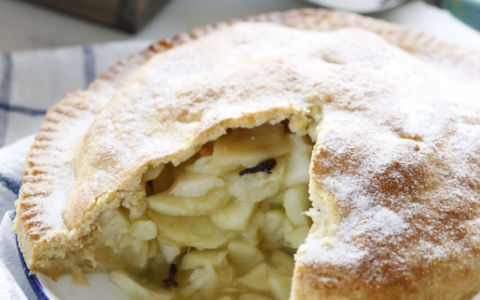
Divide the pastry into 2 portions, one slightly larger than the other, then roll out the larger piece until it is about 30cm in diameter. Use to line a 20cm pie dish or a 23cm flat plate, gently pressing into the corners. Trim the edges with a knife and reserve the excess for decorating. Place back in the fridge to chill while you prepare the apples.
Peel, core and slice the apples. Place in a large bowl with all but 1 tablespoon of the caster sugar. Add the cinnamon and cloves and mix together. Brush the edge of the pastry with a little milk and then pile the apples into the lined pie dish. Roll out the second piece of pastry into a circle slightly larger than the pie dish and use to cover the apples. Press the edges together to seal, then use a sharp knife to cut away any excess.
Crimp the edges of the tart with a round-bladed knife, using your fingers as a guide. If you wish roll out the pastry scraps and cut into leaf shapes. Brush the shapes with milk and stick on top of the pie. Brush the entire top of the pastry with milk and sprinkle over the remaining 1 tablespoon of sugar. Bake for 25-30 minutes, then reduce the oven to 180°C (350°F/gas mark 4) and bake for another 20-25 minutes, until golden brown.
Meanwhile, to make the custard, place the egg yolks in a large bowl with the sugar and vanilla seeds. Whisk with an electric mixer for a few minutes, until pale and thickened.
Place the milk and cream in a medium pan and bring to the boil, then immediately remove from the heat. Gradually whisk the heated milk and cream into the egg yolk mixture until smooth, then pour back into the pan and place over a gently heat. Cook gently for 6-8 minutes on a medium heat, stirring constantly, until the custard coats the back of a wooden spoon. Keep warm.
Serving Suggestions
To serve, cut the warm apple tart into slices and arrange on warmed serving places with some of the custard. Pour the remaining custard into a jug and hand around separately.
I absolutely adore this pudding from Bill’s book, Simply Bill. He made this when I appeared with him on Great Food Live, and as soon as I tasted it I was hooked. I have adapted the recipe slightly to fit the pie dish that I have. To make this for 12 people, double this recipe and cook in a 10-inch square gratin dish for 55 minutes.
Ingredients:
FOR THE PUDDING:
1 cup (4 oz) all-purpose flour
3 tbsp baking powder
1/2 cup (4 oz) superfine sugar
1 egg, beaten
1 banana, mashed
1 cup milk
1 tsp vanilla extract
6 tbsp (3/4 stick) Kerrygold Butter, melted
FOR THE TOPPING:
1/2 cup (4 oz) light brown sugar
2 tbsp corn syrup
2/3 cup boiling water
Softly whipped cream or vanilla ice cream
Directions:
TO SERVE:
Preheat the oven 350°F (180°C). Sift the flour and baking powder into a bowl. Add the sugar. Mix together the beaten egg, mashed banana, milk, vanilla extract and melted butter. Pour mixture into the dry ingredients and stir until combined. Pour this wet dough into a 9-inch pie dish and place the dish on a baking sheet.
To make the topping, put the brown sugar, corn syrup and boiling water in a saucepan. Bring to the boil and then drizzle over the pudding. Bake for 30–40 minutes, or until it feels slightly firm in the center. Serve with softly whipped cream or vanilla ice cream. If you’re not going to serve the pudding immediately, keep it somewhere warm until you are ready—it sits quite happily.
The name of this simple dessert comes from the Italian tirami su, meaning ‘pick me up’ (or ‘cheer me up’). Tiramisu has been subjected to many variations over the years, but this is the original recipe and – in my opinion – the best! This is a dessert that actually benefits from being made ahead, allowing the lovely flavours to mingle. As a result, it is perfect for a large gathering.
Serves 8–10
4 large eggs
100g caster sugar
250g mascarpone cheese 2
50ml cream
250ml freshly brewed strong espresso coffee (left to cool completely)
150ml Tia Maria or Kahlúa liqueur
40 sponge fingers
50g bar plain chocolate
2 tsp cocoa powder
Separate the eggs, putting the yolks in one bowl with 80g of the sugar, and the egg whites in another. Using an electric beater, whisk the egg yolks and sugar until pale and creamy, then mix in the mascarpone cheese until well combined. Whip the cream in a separate bowl until soft peaks form, then fold into the egg yolk and mascarpone mixture.
Using spotlessly clean beaters, whisk the egg whites with 20g of sugar until soft peaks form, then fold this into the mascarpone cream. Spoon a third of this mixture into a suitable dish that is at least 2cm deep. Pour the coffee into a shallow dish and stir in the Tia Maria or Kahlúa. Dip in enough of the sponge fingers to make an even layer on top of the mascarpone mixture. Only dip the sponge fingers in as you go along, so they don’t soak for too long and become difficult to handle.
Cover the layer of soaked sponge fingers with another third of the mascarpone mixture, then grate most of the chocolate bar on top using the coarse side of a grater. Add another layer with the rest of the soaked sponge fingers, then spoon over the remaining mascarpone mixture and spread evenly with a back of a spoon. Cover with cling film and chill overnight to allow the flavours to develop and the dessert to settle. To serve, give the tiramisu a good dusting of cocoa powder, then grate over the rest of the chocolate. Place in the middle of the table so that everyone can help themselves.
SERVE AFTER … A go-to dessert if you like spoiling your guests after a long Italian-inspired meal. Tiramisu is ideal for the warmer months since it can be made well in advance and kept in the fridge until needed.
Pavlova Wreath with Exotic Fruit
Cakes are always the sweet option of choice for birthdays and anniversaries. However, I would like to introduce to you the Pavlova Wreath – it is very pretty and easy to make, and it delivers an incredible flavour. As always, feel free to use your own favourite combination of flavours to personalise it. Be sure to produce it with a flourish for that ‘ta-da’ moment!
Serves 10–12
For the meringue
5 egg whites
250g caster sugar
50g icing sugar
2 tsp cornflour
For the raspberry sauce
200g raspberries
2 tbsp icing sugar
1 tbsp lime juice
2 tsp cornflour or arrowroot
For the crème Chantilly
200ml cream (well chilled)
1 tsp vanilla extract
40g icing sugar
To decorate
200g raspberries
400g tin lychees, well drained and cut in half
2 passion fruit, halved and seeds scooped out
Preheat the oven to 140°C (275°F/Gas Mark 1). Put the egg whites into the bowl of a stand mixer. Turn on to a medium speed and whisk until they begin to go frothy and hold their shape a little. Mix the caster and icing sugar together, then add about one third to the eggs in a steady stream, whisking all the time on medium to high. The mixture will now begin to thicken a little.
Make sure that all the sugar has dissolved before you add any more. Add the next third and repeat the process, whisking it all up well. Then add the final third of the sugar. Whisk on high now, since the egg mixture will be much more stable. Keep whisking until you reach the stiff-peak stage. Add the cornflour and fold in with a spoon. Draw a 25cm circle on a piece of parchment paper and use it to line a large baking sheet, then draw a 10cm circle in the middle. This is your stencil. Put dollops of the meringue mixture on to the wreath stencil, keeping it within the edges.
Bake for 55–60 minutes until the meringue has just a little colour. Remove it from the oven and leave to cool. Meanwhile, make the raspberry sauce. Blitz the raspberries in a food processor with the icing sugar and lime juice, then pass through a sieve into a small pan using a plastic spatula. Mix the cornflour or arrowroot with one tablespoon of water until smooth, then add this to the raspberries. Bring to the boil over medium to high heat, then simmer gently for a few minutes until thickened, stirring occasionally.
Set aside to cool. For the crème Chantilly, whisk up the cream, vanilla and sugar in a bowl until it is just beginning to hold soft peaks. Cover with cling film and chill until needed. Carefully slide your Pavlova wreath on to a large, flat serving plate. Place dollops of the crème Chantilly around the top of the wreath, then drizzle over some of the raspberry sauce; the rest can be served in a jug at the table. Decorate the wreath with the raspberries, lychees and passion fruit pulp. Serve straight away.
Watch our Simply Better brand ambassador @nevenmaguire prepare this delicious Irish Strawberry & Lemon Tart using our new Simply Better Irish King Strawberries from Clarke’s Fresh Fruit. Find the full recipe below:
Ingredients (Serves 8) 500ml Simply Better Single Source Irish Jersey Cream 1 Jar Simply Better Sicilian Lemon Curd 250g Simply Better Irish King Strawberries, sliced 50g Pistachios For the Sweet Shortcrust Pastry 175g Plain Flour 100g Butter, diced and chilled 50g Caster Sugar Pinch of Salt 1 Simply Better Free Range Corn Fed Egg ½ Tbsp. Simply Better Organic Irish Jersey Milk Zest of ½ Lemon
Method 1. To make the pastry, place the flour, butter, sugar and salt into a food processor and blend for 20 seconds. Add the egg, milk and lemon zest and blend again just until the pastry comes together – do not overwork the dough or the pastry will be tough. Wrap in cling film and chill for 1 hour. 2. Preheat the oven to 180°C (350°F/Gas Mark 4). 3. Roll the pastry out thinly on a lightly floured work surface. Transfer the pastry to a 23cm (9in) fluted loose bottomed flat tin ensuring the pastry is pushed into the edges of the tin. Transfer to the freezer for 10 minutes to firm up. 4. Remove the tart tin from the freezer. Line the pastry with baking parchment and fill with baking beans or rice. Bake for about 15 minutes or until the pastry is firm, then remove the beans or rice and cook for about 5 minutes more, until golden brown. Remove from the oven and allow to cool completely. 5. Whip the jersey cream in a bowl until you achieve soft peaks then fold in the lemon curd. Pour the lemon cream into the cooled pastry case. Arrange the sliced strawberries on top and scatter over the pistachio nuts. Keep chilled until ready to serve.
450g (1lb, 31/2 cups) plain flour 1/2 teaspoon sugar 1/2 teaspoon salt 1/2 teaspoon bicarbonate of soda 300-600ml (1/2 – 1 pint, 1 1/4 – 2 1/2 cups) sour milk or buttermilk
METHOD
Sieve the dry ingredients. Make a well in the centre.
Pour in all the milk at once. Using 1 hand, with your fingers stiff and outstretched like a claw, stir in a full circular movement from the centre to the outside of the bowl in ever increasing circles. The dough should be softish, not too wet and sticky. When it all comes together, turn it out onto a well-floured work surface. Wash and dry your hands. Tidy it up and flip over gently. Pat the dough into a round, about 4cm deep.
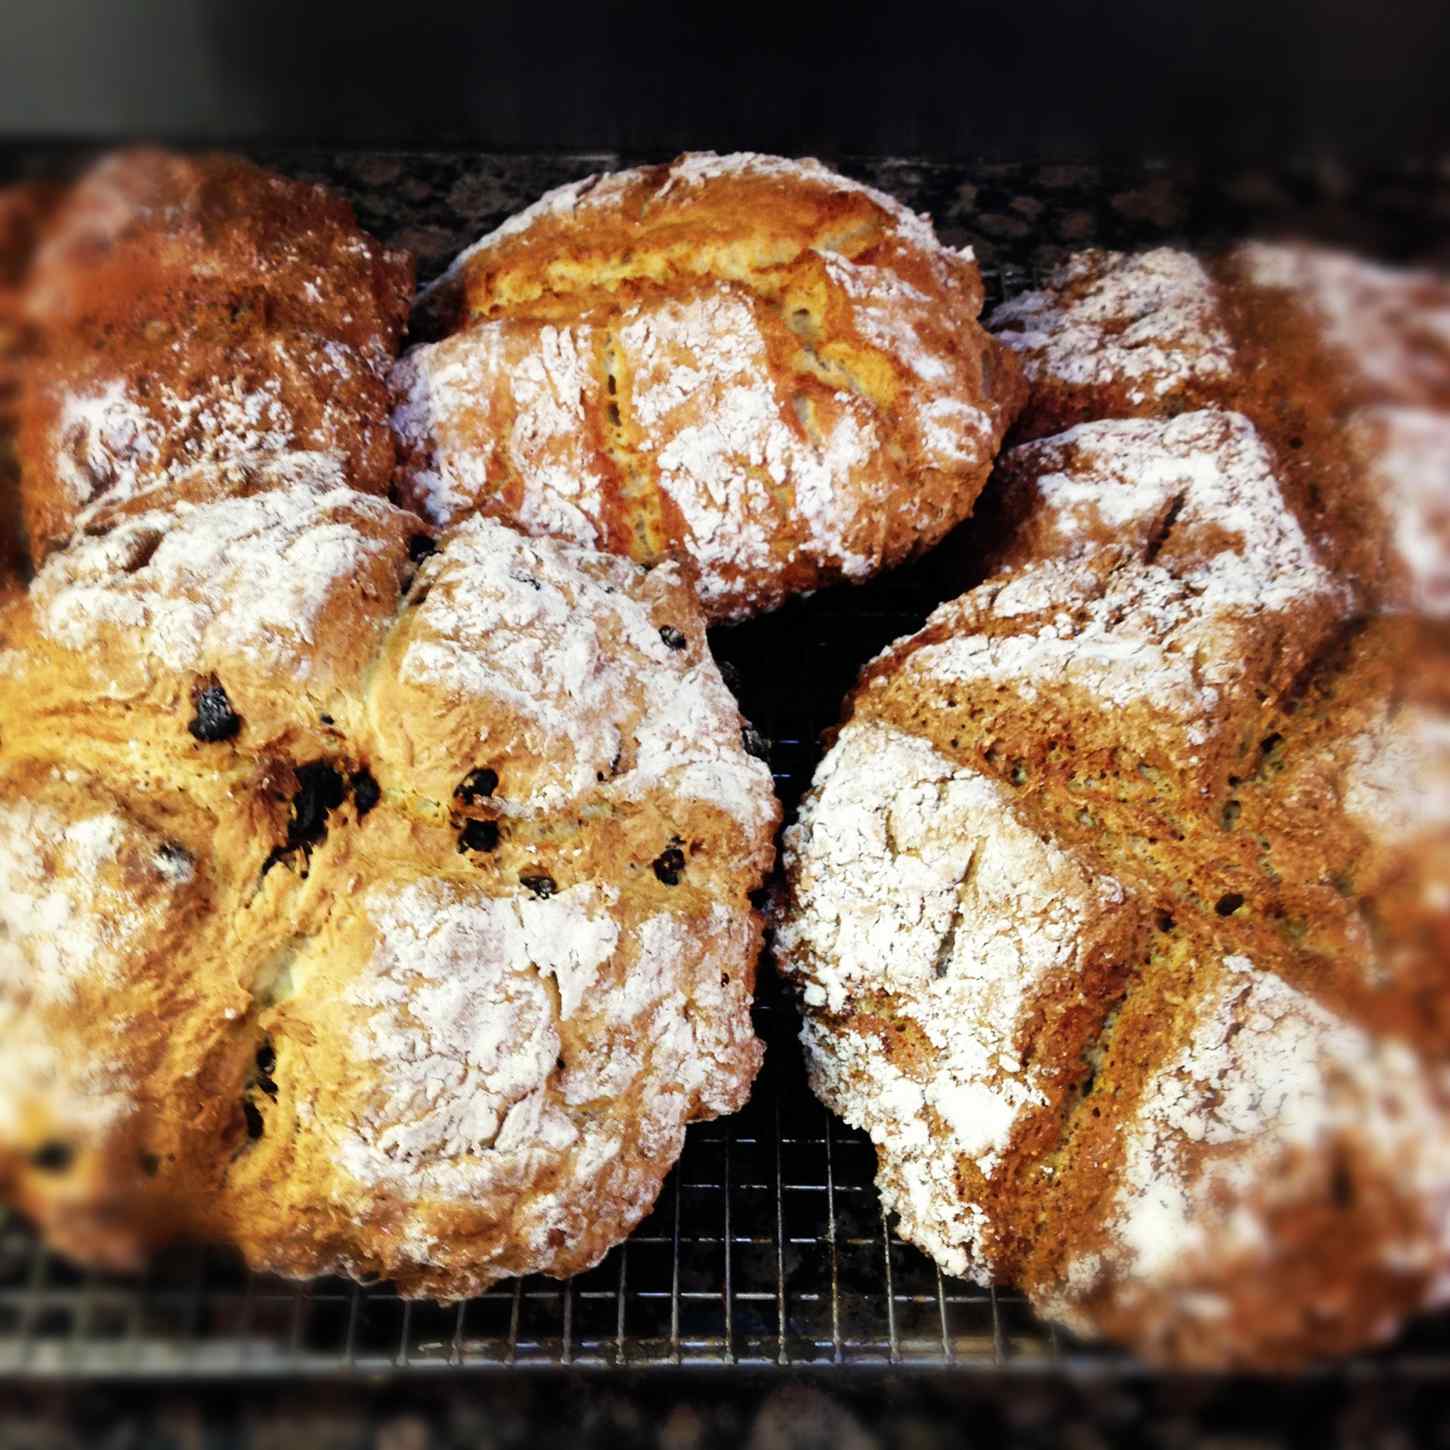
Cut a deep cross on the loaf and prick in the four corners.
Bake in the oven for 15 minutes then turn down to 200deg C for 30 minutes until cooked. If you are in doubt, tap the bottom of the bread, when it is cooked it will sound hollow. Cool on a wire rack.
Tip! Soda breads are best eaten on the day they are made, but are still good the next day.
Spotted Dog
Follow the recipe above adding: 1 dessert spoon of sugar, 100g sultanas, 1 egg.
Add the sugar and the sultanas with the flour and drop the egg in with the milk before missing. Spotted dog is also called railway cake in some parts of Ireland.
Stripy Cat
Follow the spotted dog recipe replacing the sultanas with 75g of roughly chopped best quality chocolate.
Come to savour culinary delights at Ballymaloe House Hotel.BOOK YOUR STAY
Come rain, hail or shine it’s always a good time for chocolate chip cookie ice-cream sandwich. Even better when it’s all homemade.
Come rain, hail or shine it’s always a good time for chocolate chip cookie ice-cream sandwich. Even better when it’s all homemade.
We use baking soda in this recipe, the baking soda gives makes the cookie chewy and when frozen the perfect crunch. However, if you prefer a doughier cookie, just replace the baking soda with baking powder.
If you enjoyed making this recipe, share your pictures with us, tagging @AshfordCastle.
This recipe makes 14 sandwiches.
For the chocolate chip cookies
Ingredients:
350g plain flour
5g baking soda
Pinch of salt
225g salted butter
175g caster sugar
175g soft brown sugar
2 whole eggs
350g dark chocolate (chunks, chips or buttons)
Method:
Place the butter, caster sugar, brown sugar in a bowl.
And the vanilla into the mixing bowl, and using the spade attachment, beat until creamy.
Add the eggs and mix for a further 2 – 3 minutes.
Add the sieved flour, baking soda and salt.
Add the chocolate and mix for a further 1 – 2 minutes until all is combined (Do not over mix the mixture as it will result in heavy cookies!).
Weigh each cookie into 25g balls.
Place the cookies on a tray lined with parchment paper. Ensure they are at least 8cm apart on the tray.
Bake at 180°c for 14 minutes in the oven.
Once they are cooked remove from the oven, leave to rest for 2 minutes. Then use a 7cm diameter cutter to cut the cookie into a perfect circle.
For the vanilla ice-cream
Ingredients:
500g cream
500g milk
240g egg yolk
240g caster sugar
2 vanilla pods
Method:
Heat the cream, milk and vanilla pods (split lengthways) in a saucepan.
Combine the egg yolks and caster sugar.
Pour the boiled milk/cream over the egg mixture and combine well.
Pour back into a clean saucepan and cook out the mixture until it reaches 85°c.
Place into an ice-cream machine and churn.
Place the ice-cream into a 7cm diameter silicone mould or alternatively spread on a tray 2cm in height and cut with a 7cm cutter when frozen solid.
Assembly:
Take two cookies and place the ice cream in between each cookie. Freeze for 2 hours.
Once frozen dip half of the cookie in tempered milk chocolate.
Store in the freezer until ready to enjoy. For the ultimate indulgence, enjoy with a glass of Irish cream liquor.
A sneaky shortcut
If you’d rather skip the baking and keep your kitchen clean, you can order premade chocolate chip cookie ice-cream sandwiches from Cullen’s on the Ashford Castle Estate as part of the Cullen’s at Home click and collect service.
Preheat the oven to 425˚F and line two large baking sheets with parchment paper. Place the butter and water in a saucepan and bring to a steady boil until the butter is melted. Remove from the heat and add the flour, beating with a wooden spoon until a dough comes together. Place back over the heat and beat the dough in the saucepan for about 40 seconds. Remove from the heat and set aside.
Beat the eggs in a small bowl. Add the eggs little at a time, beat thoroughly with a wooden spoon until the egg is completely incorporated after each addition. You are looking to have a consistency that will hold its shape when piped. It should be smooth, shiny and just about fall from the spoon. You might not use all the egg.
Using a spatula, scoop the dough into a large piping bag fitted with a large round piping nozzle and pipe 10cm lines on the lined baking sheets, leaving about 4cm in between each line to allow for spreading. Brush each one with a little leftover beaten egg.
Place in the oven, reducing the heat to 375˚F for approximately 25 minutes until they have risen and are golden and crisp. Transfer to a wire rack and use a sharp pointed knife to pierce three holes on the underside of the buns. Allow to cool completely before filling.
For the crème pâtissière, split the vanilla pod in half and scrape out the seeds. Add this to a medium saucepan with the milk and place over a medium high heat. Bring to the boil and then turn off the heat. Scoop out the vanilla pod.
While the milk is coming to the boil, place the sugar, cornflour and egg yolks in a large mixing bowl and beat with a whisk until thick and pale.
Pour the hot milk into the bowl, whisking quickly and continuously until it is smooth and incorporated. Pour the mixture back into the saucepan and place over a medium heat beating continuously until it has thickened.
Transfer the crème pâtissière to a cold bowl, create a flat surface with the back of a spatula and wipe the top with little butter (this will prevent a skin forming). Cover directly with cling film and allow to cool completely.
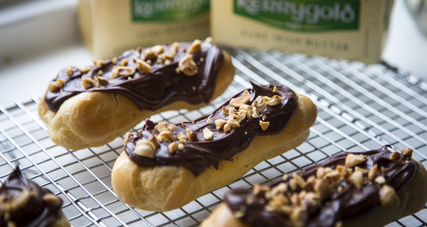
9 For the chocolate glaze, melt the dark chocolate in a bowl set over a saucepan of hot water. When the chocolate has melted remove the bowl from the heat and gently stir through the cream. Fold in the butter until you have a shiny, spreadable chocolate glaze.
10 To assemble the eclairs, fill a piping bag, fitted with a small round nozzle, with the crème pâtissière and pipe into the holes on the underside of the choux buns. Spread the chocolate glaze over the top of each eclair and sprinkle with the roasted hazelnuts. Serve straight away or the eclairs will keep for 1 or 2 days in the fridge.
#Ad | Strawberry season is in full swing and this Irish Strawberry Baked Cheesecake from our @simplybetterds brand ambassador @Neven Maguire is the perfect way to use our delicious Simply Better Irish strawberries from @clarkesfreshfruit. Find the recipe below and shop the ingredients online or in your local @dunnesstores
Ingredients | Serves 6-8
FOR THE BASE 1 Pack Simply Better Normandy Butter Vanilla Sablé Biscuits 60g Simply Better Abernethy Sea Salted Butter, melted FOR THE CHEESECAKE FILLING 3 Tubs Simply Better Irish Original Cream Cheese 180g Simply Better Greek Yogurt (10% Fat) 200g Caster Sugar 3 Simply Better Irish Free Range Corn Fed Large Eggs 1 Tsp. Vanilla Extract
FOR THE TOPPING 1 Bag of Simply Better Frozen Irish Strawberries 1 Pack Simply Better Irish King Strawberries, sliced 3 Tbsp. Water 3 Tbsp. Sugar 1 Tbsp. Cornflour
Method 1. Preheat the oven to 180°C Fan. 2. Combine the frozen strawberries, water, sugar and cornflour in a saucepan and bring to the boil, reduce the heat then simmer for 5-10 minutes until the strawberries are soft, then hand blend and simmer again for a further 10 minutes until reduced and thickened. Allow to cool before you stir in the fresh strawberries. 3. Blitz the biscuits until you achieve fine breadcrumbs and mix through the melted butter. 4. Line a spring form tin with baking parchment so that it is coming up the sides. Tip the biscuit into the base and spread out with the back of a spoon. Bake in the preheated oven for 8 minutes. Remove and allow to cool. 5. Reduce the temperature of the oven to 160°C Fan. 6. Mix all of the cheesecake filling ingredients until well combined. Pour over the cooled base and bake for 45-50 minutes, it should have a slight wobble in the centre. Turn off the oven and allow it to sit for another 10-15 minutes before removing. Allow to cool then leave to chill in the fridge overnight. 7. Top with the strawberries before serving.1w