Ireland’s Blue Book liked

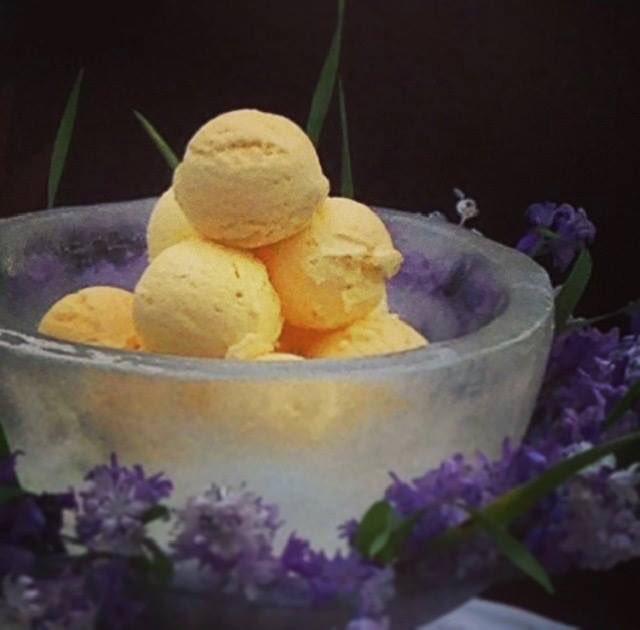
Home-made vanilla ice cream in ice bowl decorated with our Irish Native Bluebells… make time for a walk on our woodland paths if you are visiting @Ballymaloe this weekend! 

 Photo
Photo @JRRyall
Nutrition key to sound health
Home-made vanilla ice cream in ice bowl decorated with our Irish Native Bluebells… make time for a walk on our woodland paths if you are visiting @Ballymaloe this weekend! Photo @JRRyall

cbakerbakes and others
 ballymaloecookeryschool
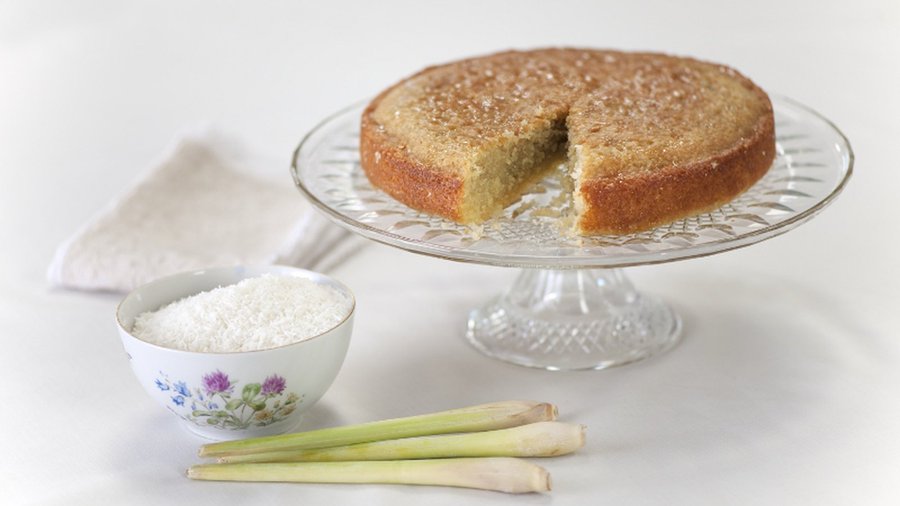


Liked by barbaramaccarthy and others
ballymaloecookeryschool
Home-made vanilla ice cream in ice bowl decorated with our Irish Native Bluebells… make time for a walk on our woodland paths if you are visiting @Ballymaloe this weekend! Photo @JRRyall

Ballymaloe Cookery @BallymaloeCS 18 hours ago
Sometime you just want a slice of cake! A wonderful lemon cake.


Verified

ballymaloecookeryschool and others
rachelallencooksVerifiedHappy Homemade Bread Day 🍞rachelallencooksVerifiedThis quantity will make one 23 cm tear-and-share loaf.rachelallencooksVerifiedOn a very lightly floured work surface, place one ball of dough. Fold the edges, all the way round, into the centre of the ball of dough, squashing it down in the centre as you go. Turn the ball over so that the folded side is on the underside and the smooth side is on top. Roll the ball gently under the palm of your hand to make a round roll then place into the prepared tin. Repeat with all the other balls of dough so that you end up with 7 around the sides, spaced apart, and one ball in the centre. Now cover with the tea towel again and place on the worktop or somewhere a little warmer, again not above 45’C , and allow to rise again until almost doubled in size, about 35-45 minutes.