Odlums @Odlums_Ireland 14 hours ago
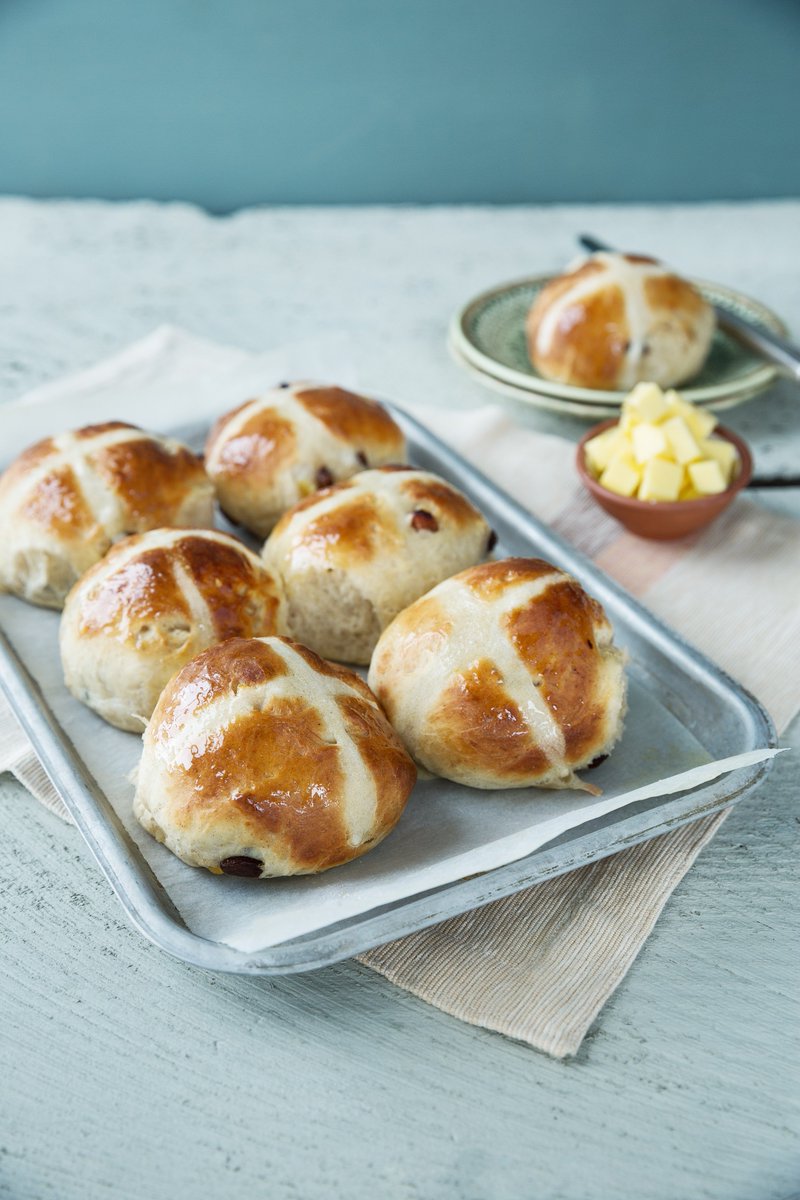
These classic Easter buns take a little while to prepare but are so worth it served with butter and a strong cuppa http://bit.ly/2o58gAF


Nutrition key to sound health
Odlums @Odlums_Ireland 14 hours ago
These classic Easter buns take a little while to prepare but are so worth it served with butter and a strong cuppa http://bit.ly/2o58gAF
https://www.bbc.co.uk/food/collections/easter_baking_with_kids
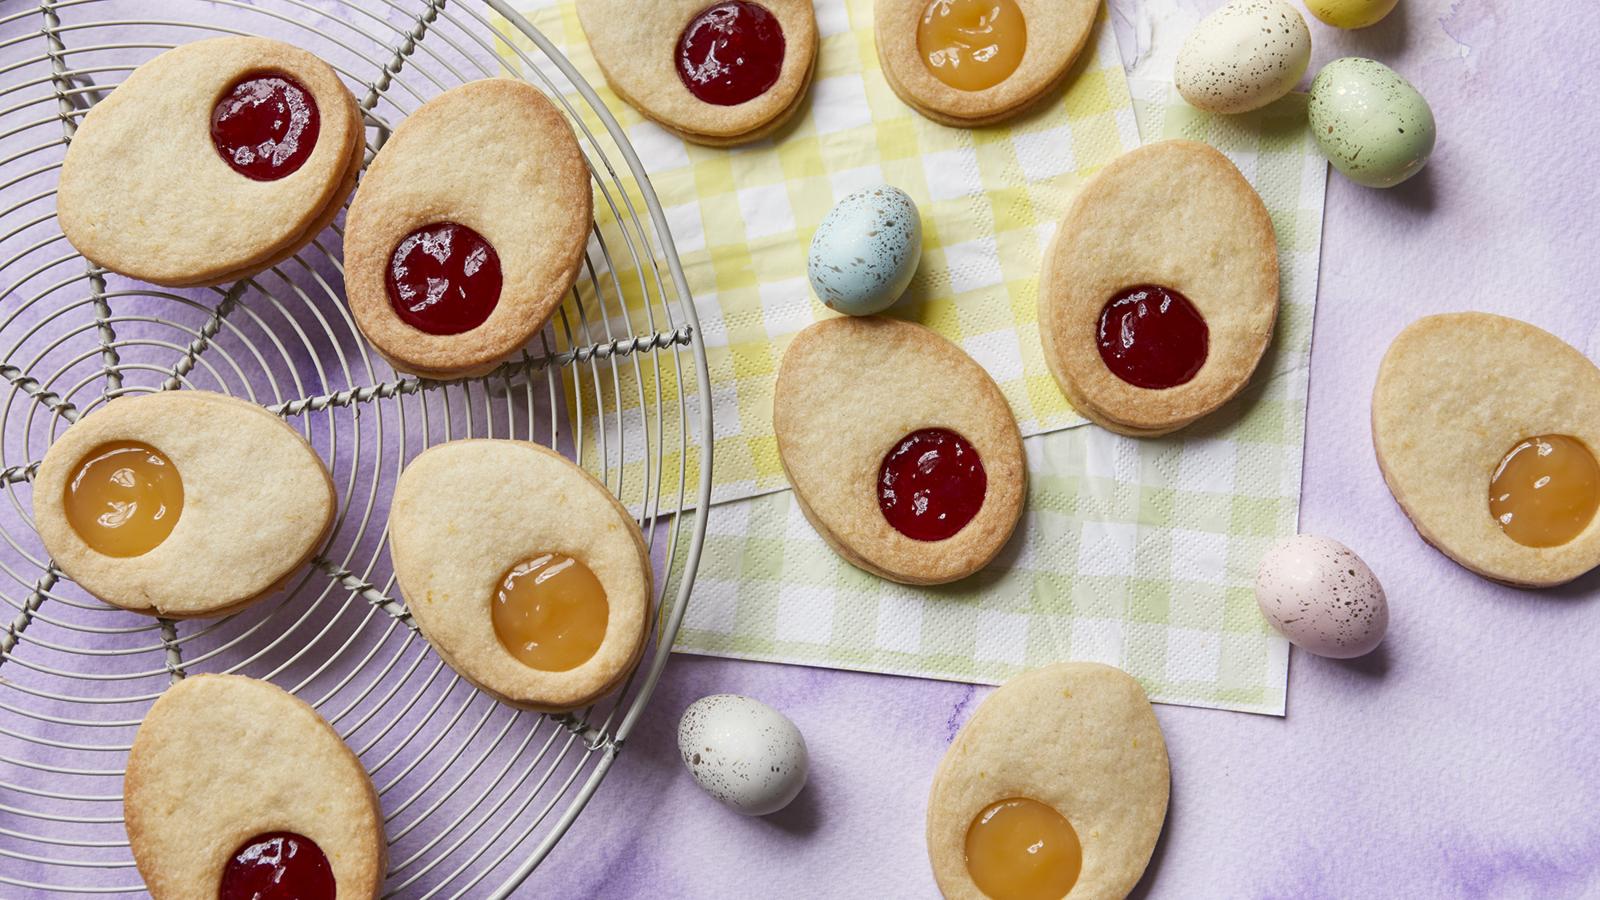
These adorable jam and lemon curd filled biscuits in the shape of Easter eggs are super easy to make with kids over the holidays and make a change from chocolate. (Of course, you can also fill them with chocolate!)


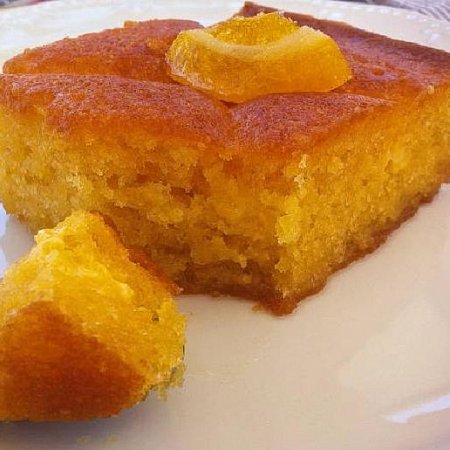
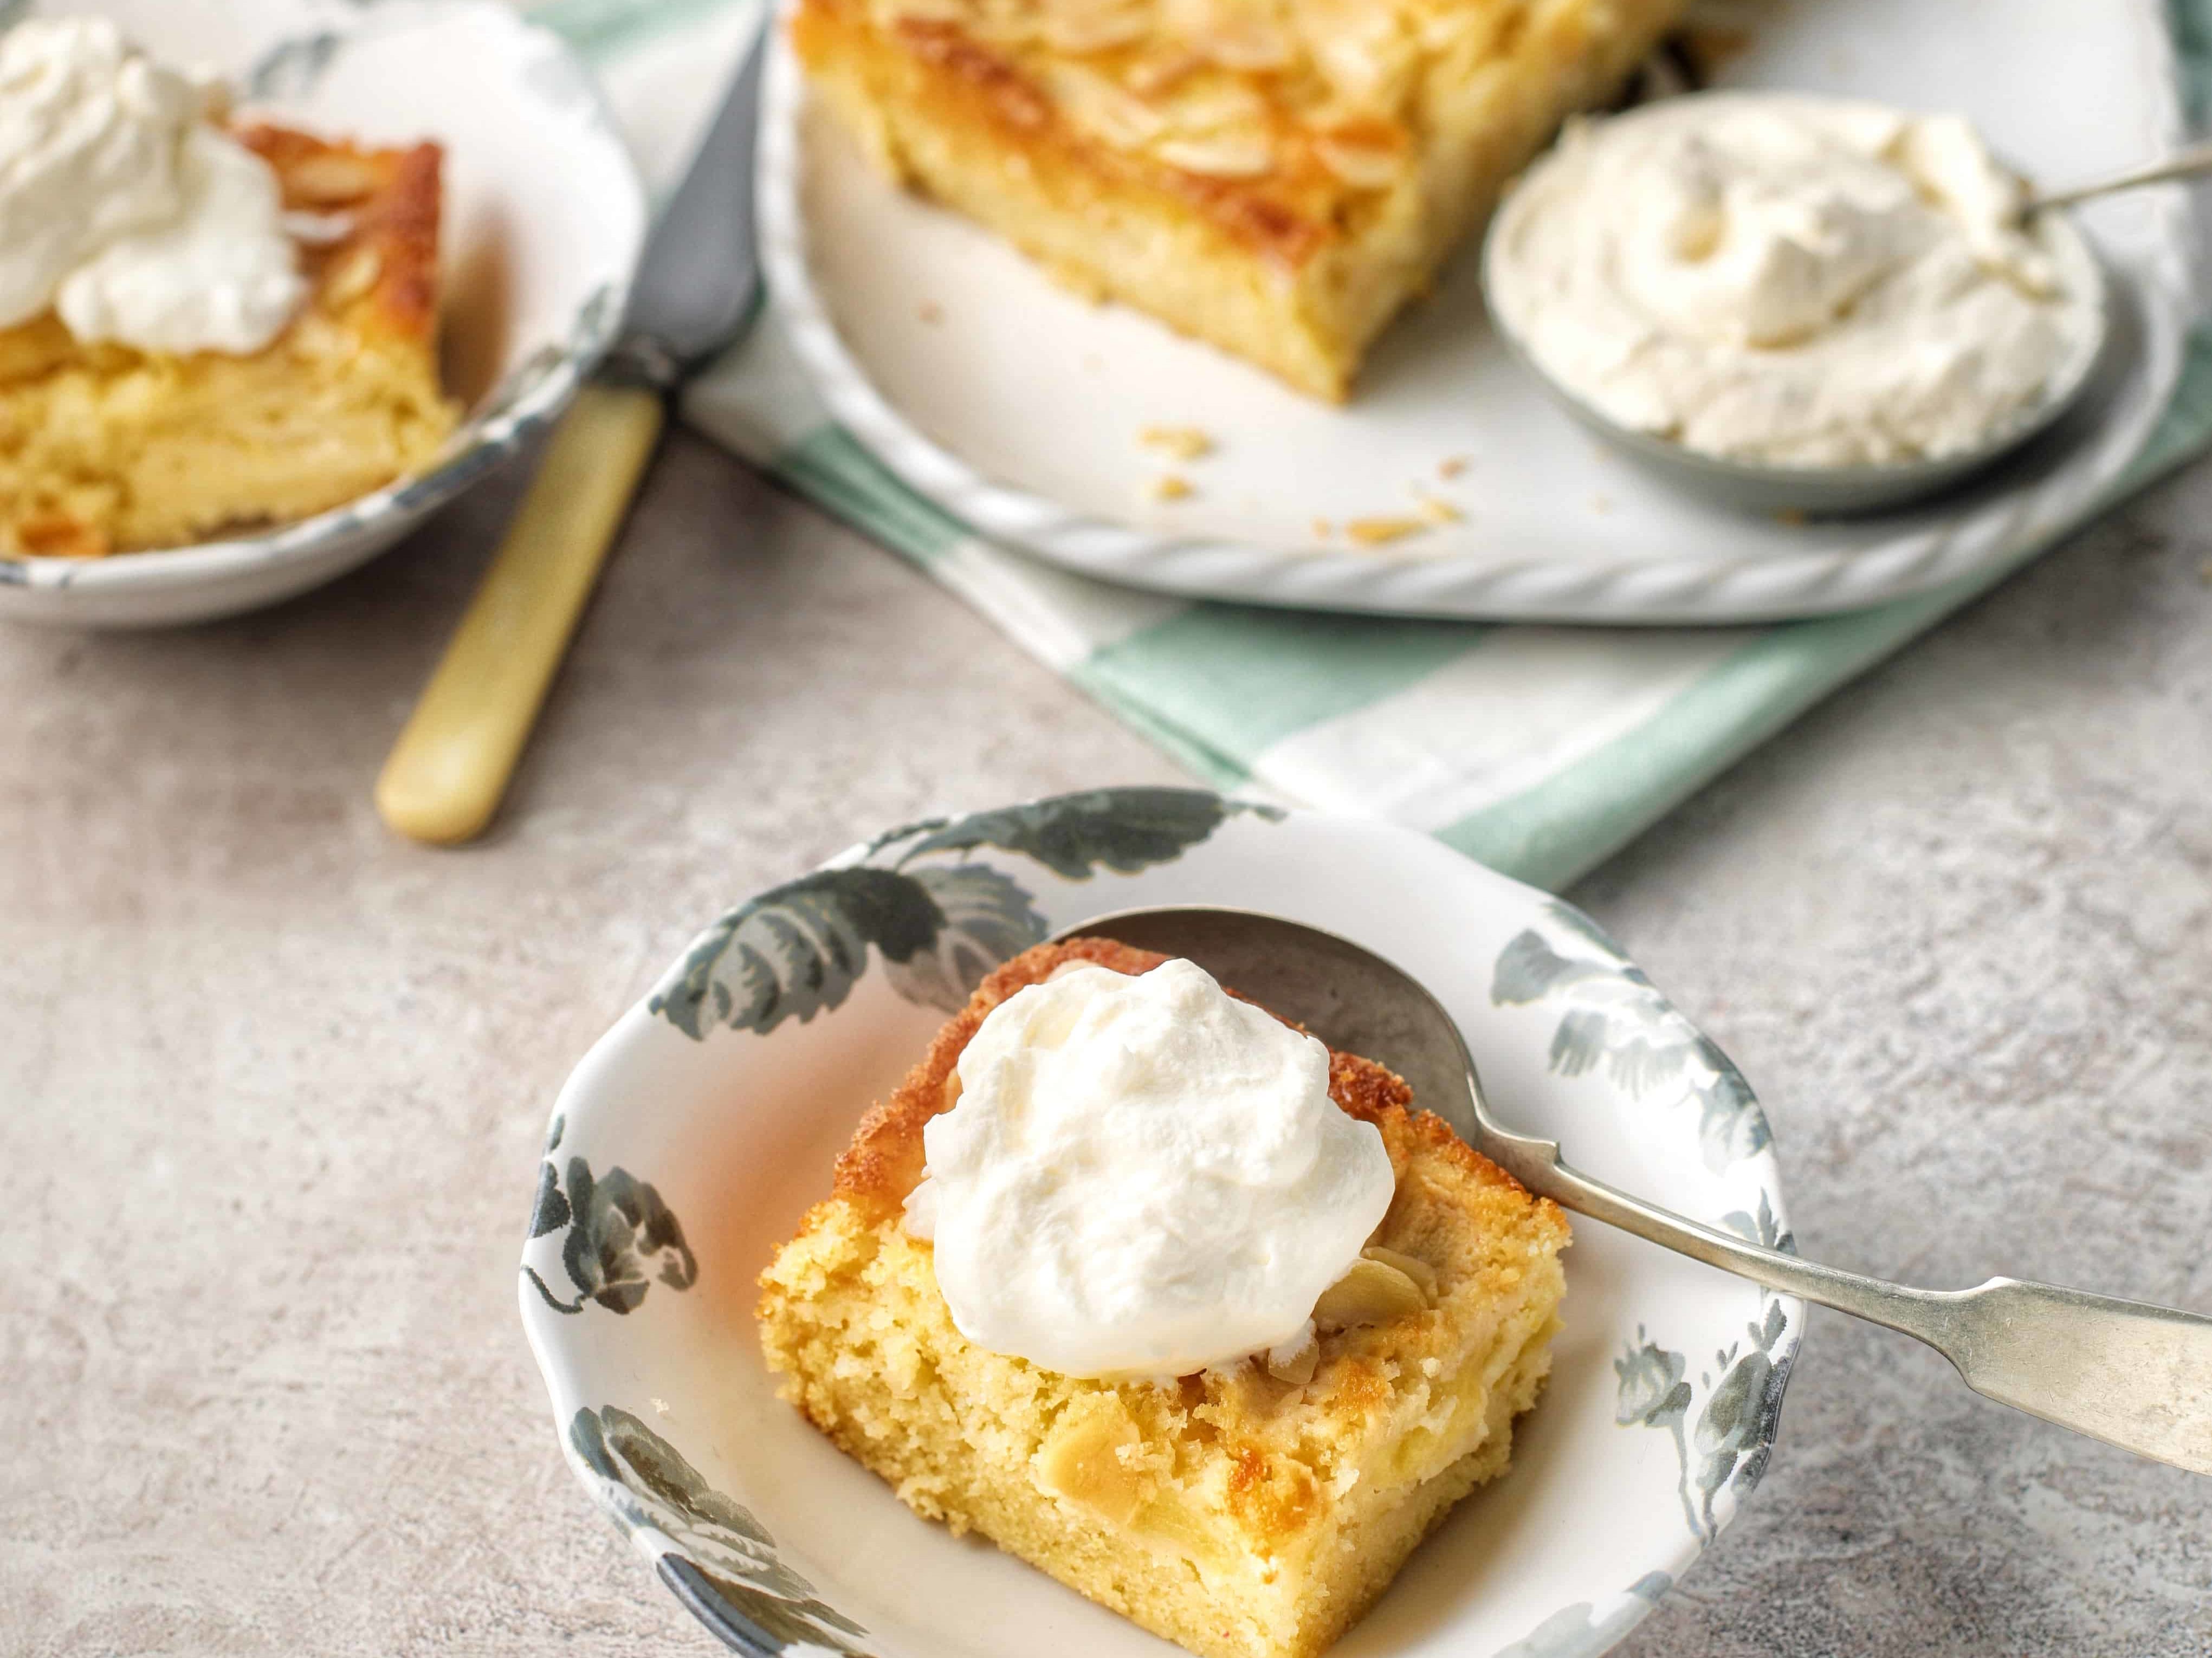
A sticky Greek cake that tastes a little like the much more complicated Greek dessert Baklava
Thanks to Angela for this simple cake recipe that kids just love.
Notes for the cook: if you have a fan-assisted oven then reduce the specified temperature in the recipe by about 15% ~ 1 teaspoon = 5ml and 1 tablespoon = 15ml ~ some ingredients are measured in cups and some equivalents are; 150g, 6oz (1/2 cup) = 120ml, 4fl oz
http://www.haughtonhoney.com/our-honey/recipes/sweet-and-moist-greek-honey-cake

CategoryBaking with Kids
Cook Time15 mins
What you need:
How to:
https://www.odlums.ie/recipes/queen-cakes-fairy-cakes-or-bun


It’s good to see this, old cooling rack from “Lynch’s Bakery “ Killeagh. Co Cork that closed in the 70s , @jen.allennn left me 190 loaves to bake this morning . .
.
.
.
.
#ballymaloecookeryschool #cooking
#learntocook #learnatballymaloe #cookerycourse #growcooknourish #12weekcookerycourse #cookery #cookingschool #cookeryschool #careerchange #cookingfromscratch #farmtofork #ballymaloecookeryschoolgardens
#ballymaloebreadshed #cookerycareer
#giftvouchers #gifttokens #ballymaloecookingshool
#recipesthatwork #cookingcareer #knowwhereyourfoodcomesfrom #farmtofork
#ballymaloe12weekcert #5weeksummercourse
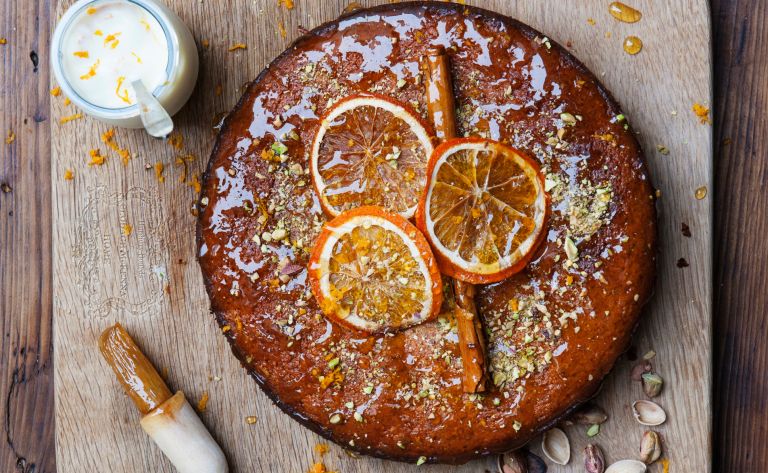
This is one of my favourite cakes at this time of the year. It’s a much needed burst of sunshine. Deliciously light, and moist due to the natural Irish yogurt. You can make a gluten free version by simply using gluten free breadcrumbs. You can substitute the pistachios with hazelnuts, roast the hazelnuts before you add them to the cake, it enhances their flavour. It will last for one week, but not sure you will have any left for to test me on that!
To serve:
Decorate with 50g roughly chopped pistachios and the zest of one lemon on top. Serve with a dollop of natural Irish yogurt
Instructions
Pre-heat the oven to 190°C / Gas 5.
Grease a 20.5cm (8in) round and 5cm (2in) deep tin and then lightly dust with flour.
In a large bowl mix together the breadcrumbs, almonds, pistachios and baking powder.
In a separate bowl whisk the eggs with the caster sugar. Continue to whisk while pouring in the vegetable oil, followed by the natural Irish yogurt.
Next stir the liquid pour into the dry ingredients and mix well. Add the orange and lemon zest.
Pour the mixture into the prepared cake tin and into the pre-heated oven.
Bake for 45 minutes to 1 hour or until the cake is golden brown. To ensure cake is done, insert a skewer into the center – if it’s ready, the skewer should come out clean. Allow to cool for 5 minutes before turning out onto a plate.
Meanwhile, make the citrus syrup. Put all of the ingredients into a saucepan and bring gently to the boil, stirring until the sugar has dissolved completely. Simmer for 10 minutes or until thick.
While the cake is still warm, pierce it several times with a skewer, then spoon the hot syrup over the cake, allowing it to run into the holes. Leave to cool. Spoon any excess syrup back over the cake every now and then until it is all soaked up.
Sprinkle chopped pistachios on top, and the zest of one orange. Serve with natural Irish yogurt
https://ndc.ie/recipe/clodaghs-orange-pistachio-yogurt-cake/
CategoryOur Top Picks
Cook Time40 mins
What you need:
How to:


