•
Follow
- motherandbaby
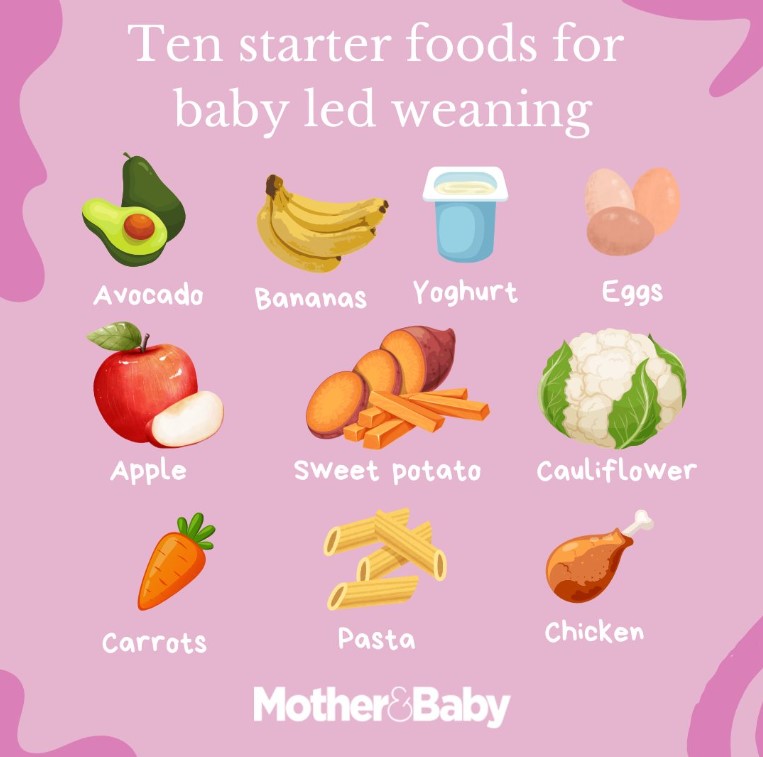
- Baby led weaning is a great way to introduce solid foods to your little one 🍏🥑🍌🍗🥚🍠 🥕🍎
#weaning #weaningfood #babyledweaning #babyledweaninguk2w
Post

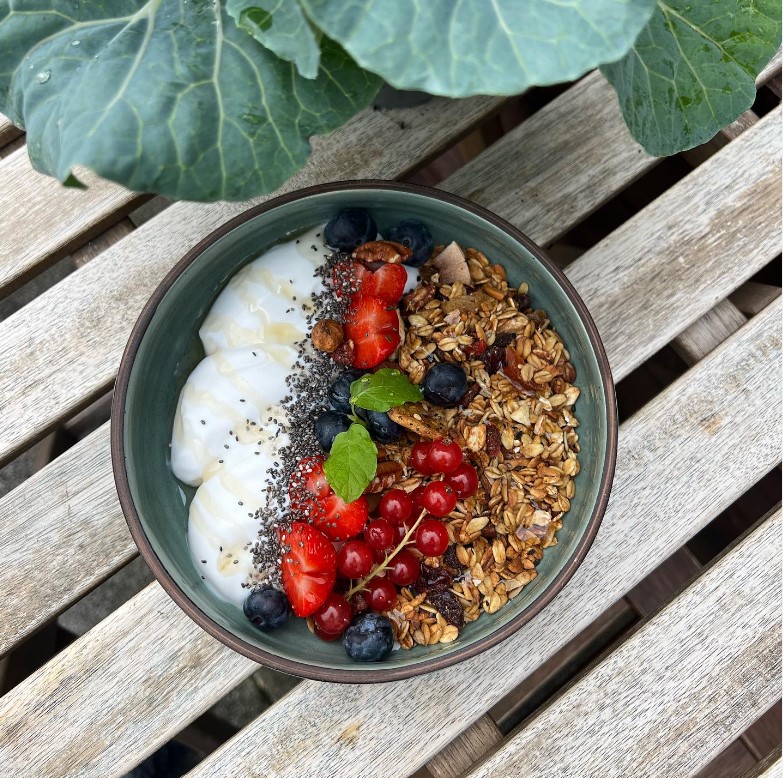
Nutrition key to sound health
•
Follow
Post

Liked by carolannmary7777 and others
datsescafeandcakes
450g/18oz baby potatoes
3 tbsp. mayonnaise
½ lemon, juice only
1 tsp. dried dill
sea salt and freshly ground pepper
2 spring onions
2 tbsp. capers
100g/4oz tin of smoked trout, drained and flaked
2 hard boiled eggs, chopped, optional
The featured recipe this month of warm potato salad with smoked trout, capers & lemon mayo comes from Kristen Jensen, co-author of Sláinte: The Complete Guide to Irish Craft Beer and Cider (2014), and Secretary of the Irish Food Writers’ Guild. You can find Kristen’s original version on page 80 of Fishwives, a cookbook by Goatsbridge, available from select bookstores or online.
Place the potatoes in a saucepan and cover with cold water and a pinch of salt. Bring to the boil, then reduce the heat and simmer for about ten minutes, until the potatoes are cooked through and tender when pierced with the tip of a knife. Drain well and allow to cool slightly – just so they stop steaming.
Meanwhile, whisk together the mayonnaise, lemon juice, dill and a pinch of salt and pepper in a small bowl. Transfer the warm potatoes to a mixing bowl and pour over the lemon mayonnaise, stirring to coat the potatoes evenly.
Thinly slice the spring onions on the diagonal, including the green tops. Add to the potatoes along with the capers and stir together. Divide the potato salad between two shallow bowls and scatter the flaked trout and chopped hard boiled eggs, if using, on top. Season with another pinch of salt and pepper and serve while the potatoes are still warm.


·
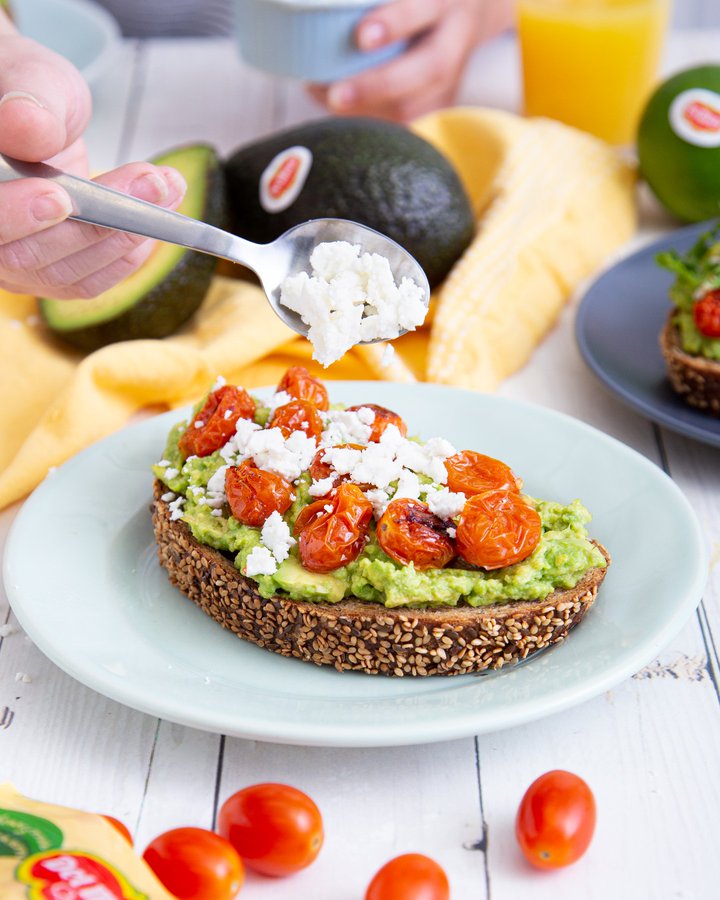
#Saturday mornings call for Avocado Toast and not just any Avocado Toast… One made with Del Monte® Avocadoes, Del Monte® Bon Bon Tomatoes, and Del Monte® Limes, of course https://bit.ly/3thEqdm #DelMonteFreshProduce #Fresh #AvocadoToast


Clough Oughter Castle 🏰, Lough Oughter, Co.Cavan

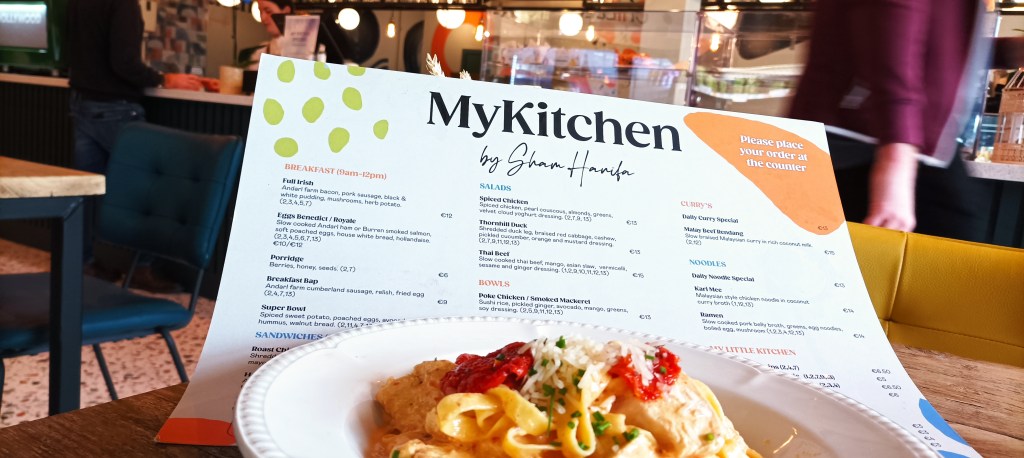
@mykitchenbyshamhanifa Carrick on Shannon, Co Roscommon