https://www.instagram.com/reel/DKo9tgfCU8U/?igsh=MWs0dTI1ZjA0bzl2Zg==

and
Liked by bubble.may44 and others
- babyledfeeding
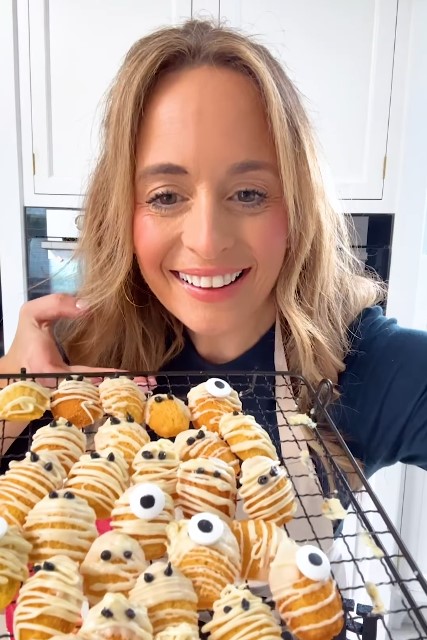
- NUT FREE GRANOLA BARS 👶🏻 Follow @babyledfeeding for recipes both you and your baby will love 🥰🥰🥰
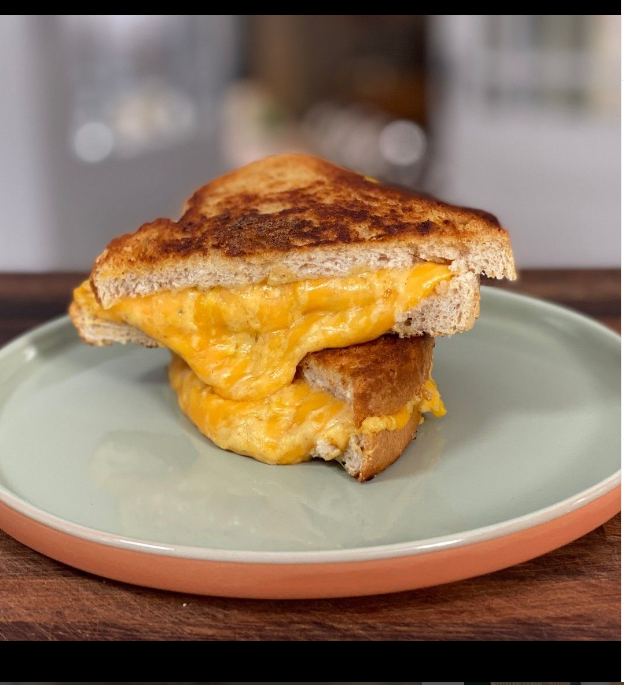
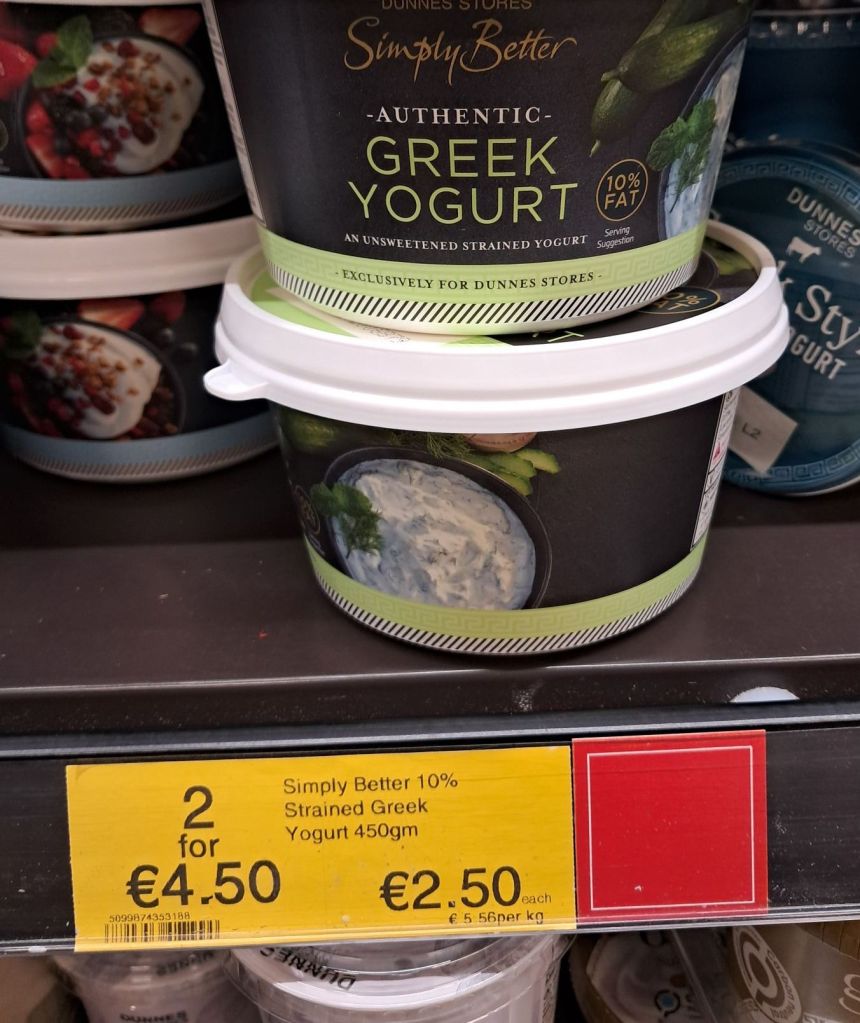
Made using the very best of @dunnesstores ingredients; seeds, oats, flaxseed and lightly spiced, these flapjacks are great for little ones when you’re out and about. You can also crumble them up too and sprinkle over Greek yogurt for another yummy treat.
☀️ Great for breakfast
🤰🏻Great for Mums (and Dads too)
👧🏻 Great as an afterschool snack
📚 SUPER as a lunchbox filler
💯 AND 100% Kid approved
💌 Comment RECIPE and I’ll DM it straight to your inbox and don’t forget to save for later.
Aileen xo
#babyledweaning #weaning #toddlersnacks #afterschoolsnack #healthysnacks #lunchboxideas #momfood #toddlersnack #healthykidsfood #healthykids #healthysnacking