
•
Mullingar Pewter Home & Living
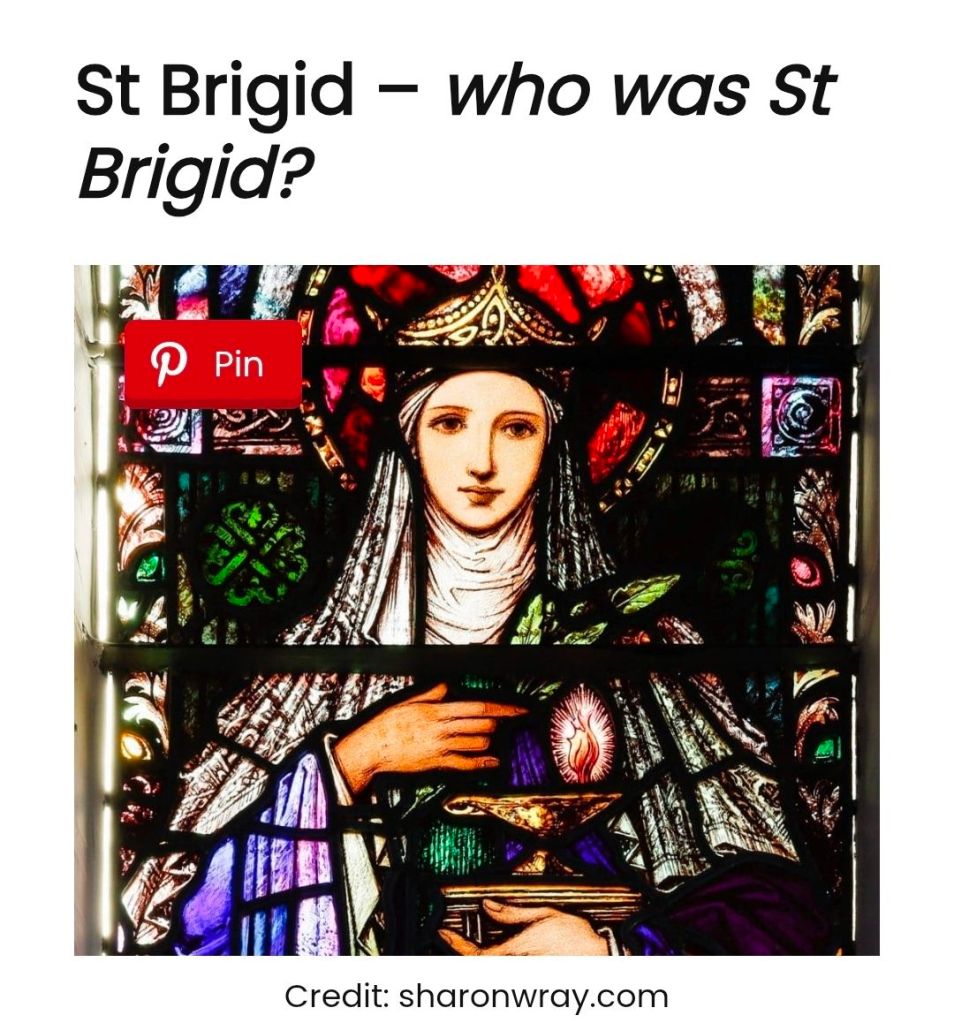
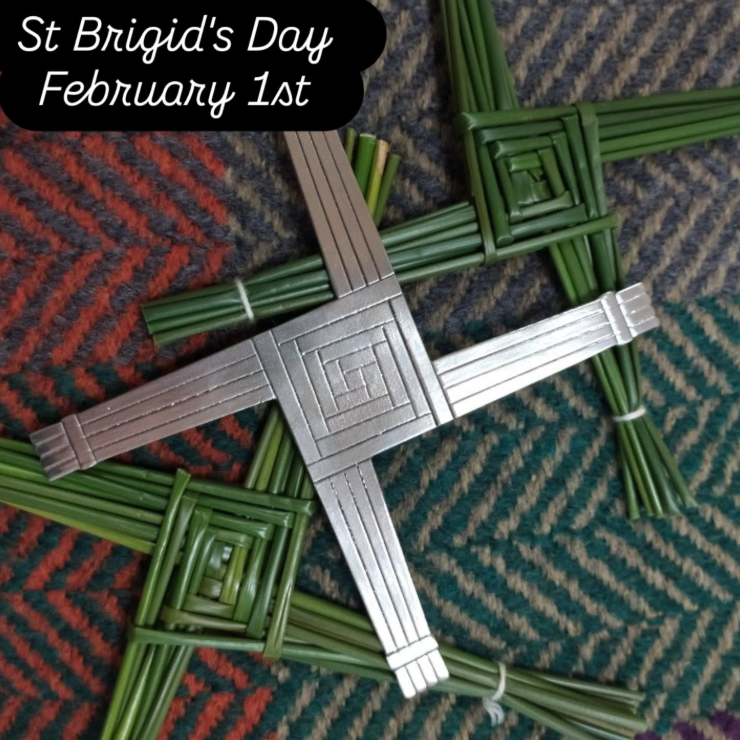
- ✨ St Brigid’s Weekend Blessings ✨
As we head into St Brigid’s Weekend, all of us at Mullingar Pewter honour Ireland’s beloved saint—patron of craftsmanship, hospitality, and new beginnings.
Her legacy of creativity and care continues to inspire the tradition and skill behind every piece we make. May this weekend bring warmth, light, and a sense of renewal to your home. ☘️
#StBrigidsWeekend #StBrigid #LaFheileBride #MullingarPewter #IrishCraftsmanship